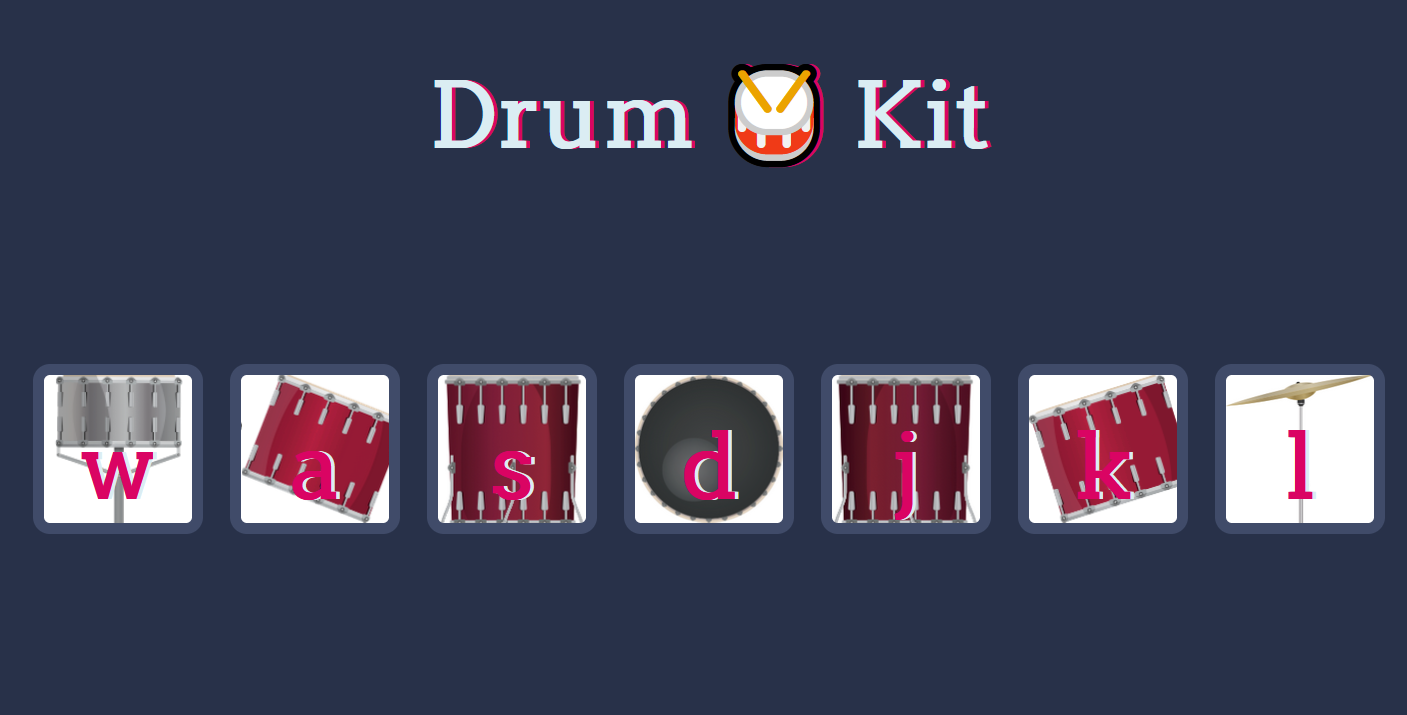
The second actual project from the class I’ve been doing is a simple clickable drum kit. Part of the purpose was to work with signs and to work with clickable elements. Like the dice roller game, the basic HTML and images were provided, though there was some freedom in arranging the icons and sounds.
It feel a bit flaky, when it comes to overlapping sounds, but that also feels like a bit of a limitation with the code itself, or at least, the simplicity of what is being done here. I’m sure it’s “fixable” with some more advanced work. But for now it’s pretty neat. Works with clicks and keyboard presses.
It can be played by going here, and the full repository can be found here.
var w = new Audio('sounds/snare.mp3');
var a = new Audio('sounds/tom-1.mp3');
var s = new Audio('sounds/tom-3.mp3');
var d = new Audio('sounds/kick-bass.mp3');
var j = new Audio('sounds/tom-4.mp3');
var k = new Audio('sounds/tom-2.mp3');
var l = new Audio('sounds/crash.mp3');

for(var i=0 ; i < document.querySelectorAll(".drum").length; i++) {
    document.querySelectorAll(".drum")[i].addEventListener("click", function(event) {
    clickHandler(event.target.innerHTML)});
}

document.addEventListener("keydown", function(event) {
    clickHandler(event.key);
});

function clickHandler(which_sound) {
//    console.log(which_sound)
//    alert("Clicked!");
    flashButton(which_sound);

    switch (which_sound){
    case "w":
        w.play();
        break;
    case "a":
        a.play();
        break;
    case "s":
        s.play();
        break;
    case "d":
        d.play();
        break;
    case "j":
        k.play();
        break;
    case "k":
        k.play();
        break;
    case "l":
        l.play();
        break;
    default:
        console.log(which_sound)
        break;
    }
}

function flashButton (whichFlash) {
    var activeButton = document.querySelector("."+whichFlash);
    activeButton.classList.add("pressed");
    setTimeout(function(){ activeButton.classList.remove("pressed"); },0.3);
}
The large bulk of the code here is handling the sound. I feel like there could almost be a more elegant way of handling this process with a list, but I’m not positive since it would mean taking the text of a list element and using it as the name of a variable. The top chunk of definitions manages creating the sound elements themselves, and the switch statement in the middle plays one based on what the user did.
This function:
function flashButton (whichFlash) {
    var activeButton = document.querySelector("."+whichFlash);
    activeButton.classList.add("pressed");
    setTimeout(function(){ activeButton.classList.remove("pressed"); },0.3);
}
Makes the flash happen. Like I did for the Python class, I tried to construct most of these on my own, so had to do a bit of research to find a way to make the button add the “pressed” class, to get the bright effect, then shortly after, remove it. This seemed to be the appropriate method based on a couple of sources.
The real “meat” of this lesson was this bit of code.
for(var i=0 ; i < document.querySelectorAll(".drum").length; i++) {
    document.querySelectorAll(".drum")[i].addEventListener("click", function(event) {
    clickHandler(event.target.innerHTML)});
}

document.addEventListener("keydown", function(event) {
    clickHandler(event.key);
});
Specifically, using the event listener function, to call an embedded function in order to pass data around. Its similar in concept to some things I’d done in Python, and I am sure it’s nothing super fancy in technique, but its “new to me” in the Javascript sense. Also, I think the instructor handled this a different way, but I’ve set these two event listeners, one for the buttons for clicks, and one for the page for key presses, in a way that made the clickHandler a lot simpler, since they both work off of the same bit of data.
Josh Miller aka “Ramen Junkie”. I write about my various hobbies here. Mostly coding, photography, and music. Sometimes I just write about life in general. I also post sometimes about toy collecting and video games at Lameazoid.com.