Project – Record Shelf
Since I’ve actually taken an interest in vinyl records, One thing I really wanted to do was build a simple little record shelf. This would serve two purposes basically. One, it looks cool. Two, it gives me another way to decorate the basement a bit. The concrete block walls are a pain to work with, especially the outside wall where all my music stuff is. The temperature changes mean nothing sticks to it long term. In other areas I’ve hung frames from the rafters using small chains. For this space, I’ve got a nice shelf I can use and swap out what’s on display as I get more records.

It wasn’t an overly complicated project, but it took longer than planned since my wife had the garage full of garage sale stuff and I couldn’t really reach any tools. Also it’s been blazing hot out, and I don’t care to work outside in that much heat. On the problem of the heat, probably sometime int he fall, I’ll drag the shelf and the lower shelving out and stain and seal it. Neither plays very well with the heat either.
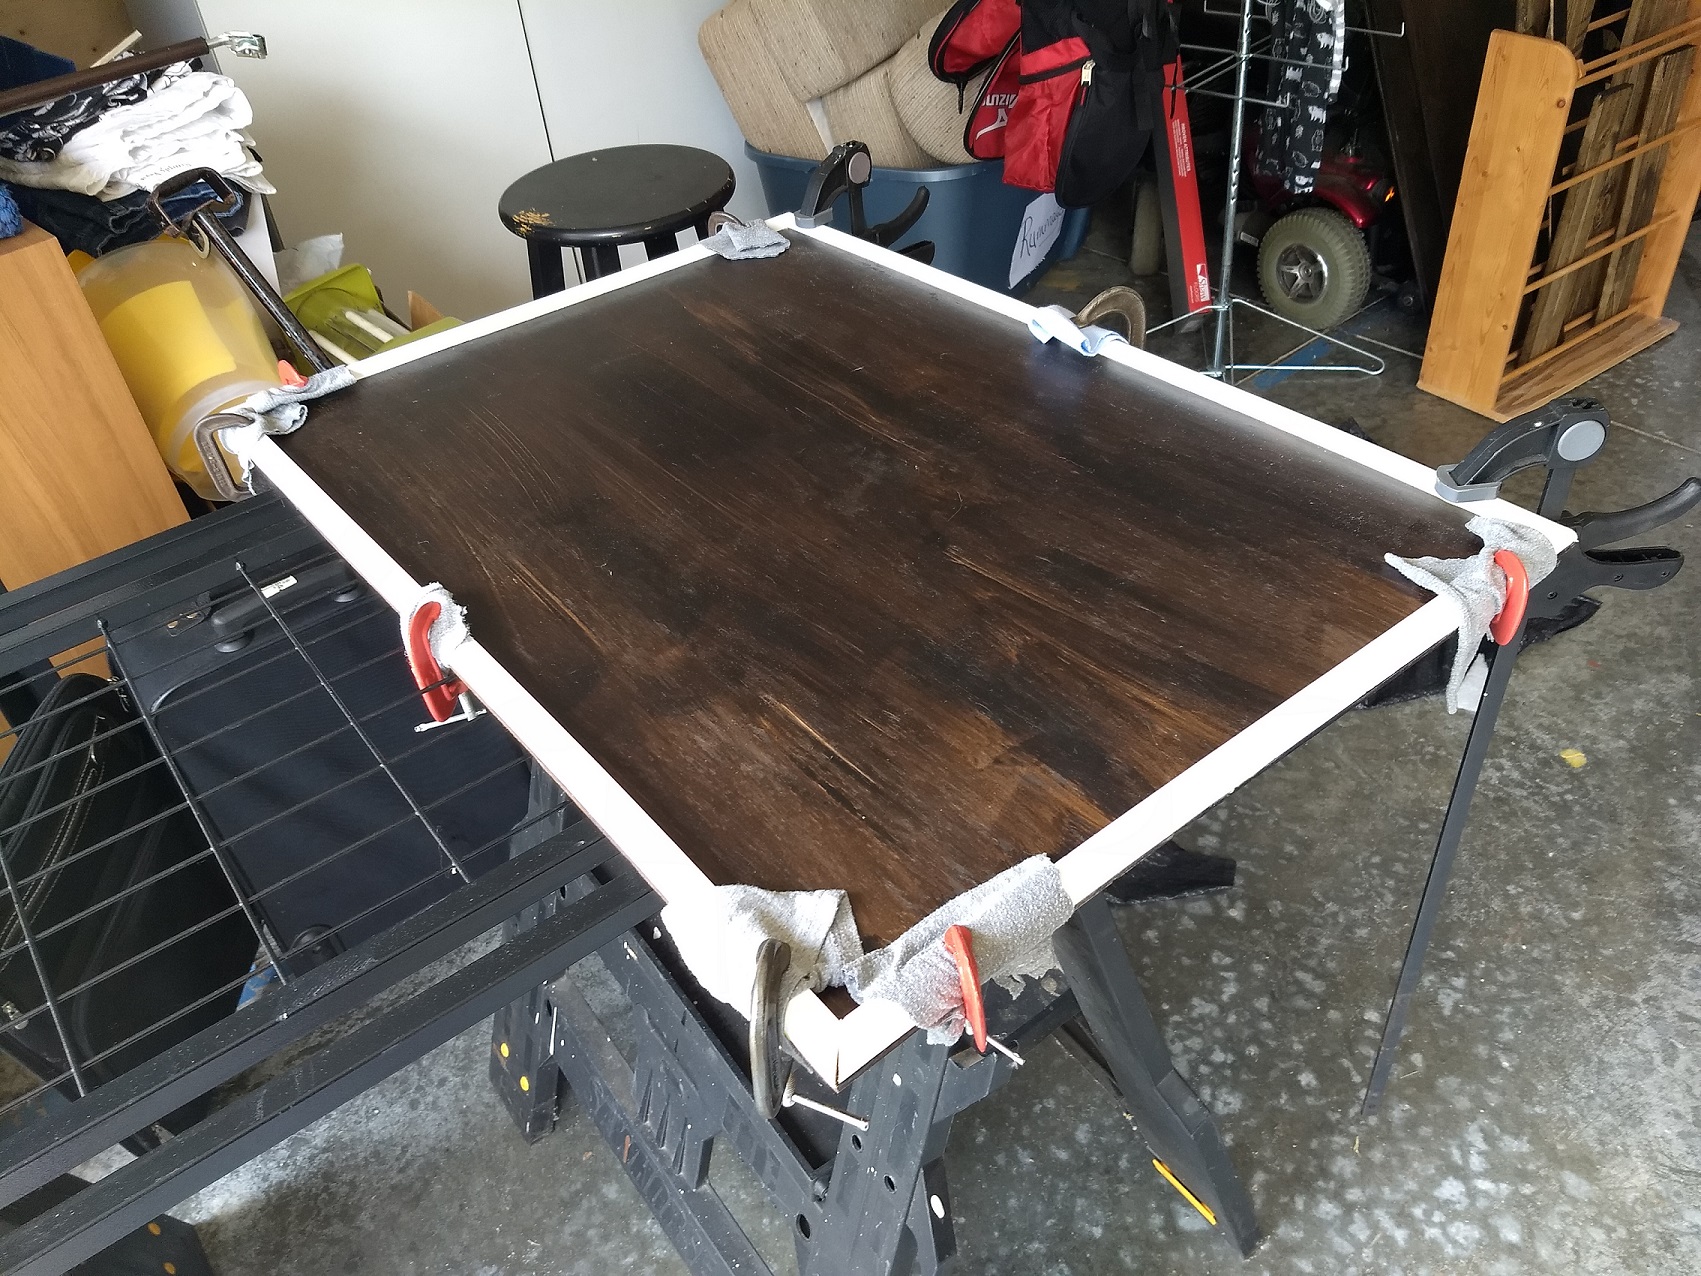
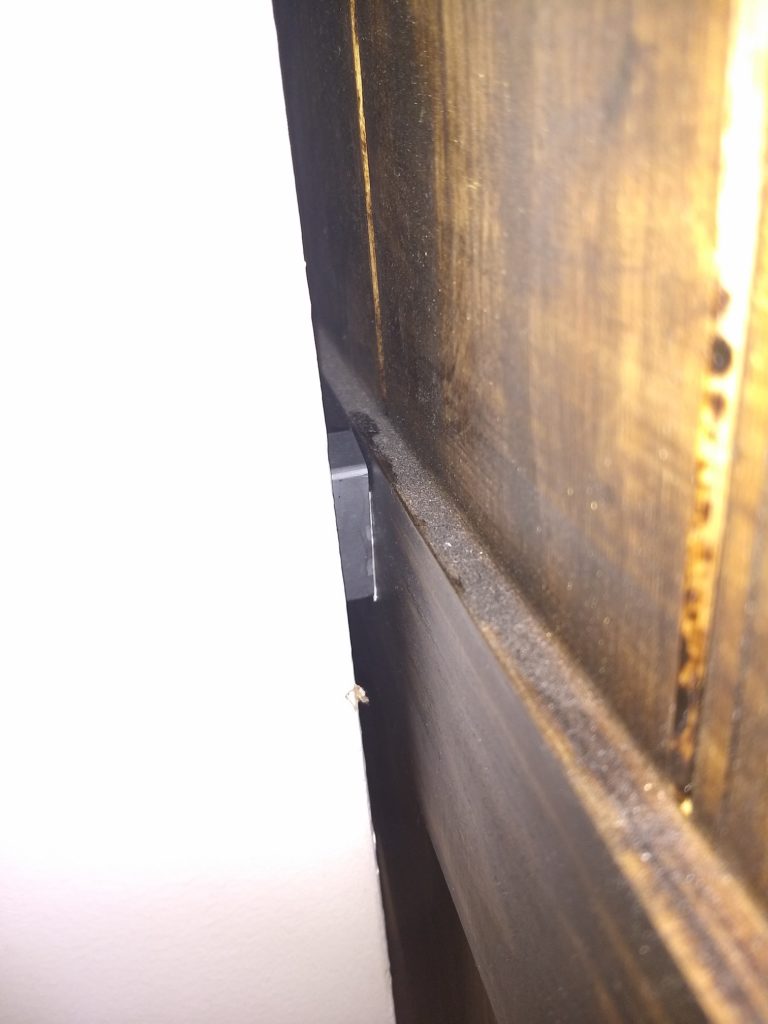
The shelf itself is a handful of 1×4 pine boards. It’s a bit more complicated than it might seem at first. For starters, I like the look of inset joints over just using metal L braces, so I went and inset and glued the shelves inside the sides. This was a bit tricky because I don’t actually own any bar clamps. I also added the little back catch pieces under each shelf, so the albums wouldn’t be resting on the wall itself. This was slightly complicated because there is a power conduit running down this wall i had to work around. The shelves themselves are notched around the power conduit as well. I also only have so many clamps large enough to glue these, so it took like a week of “clue one piece then come back.”
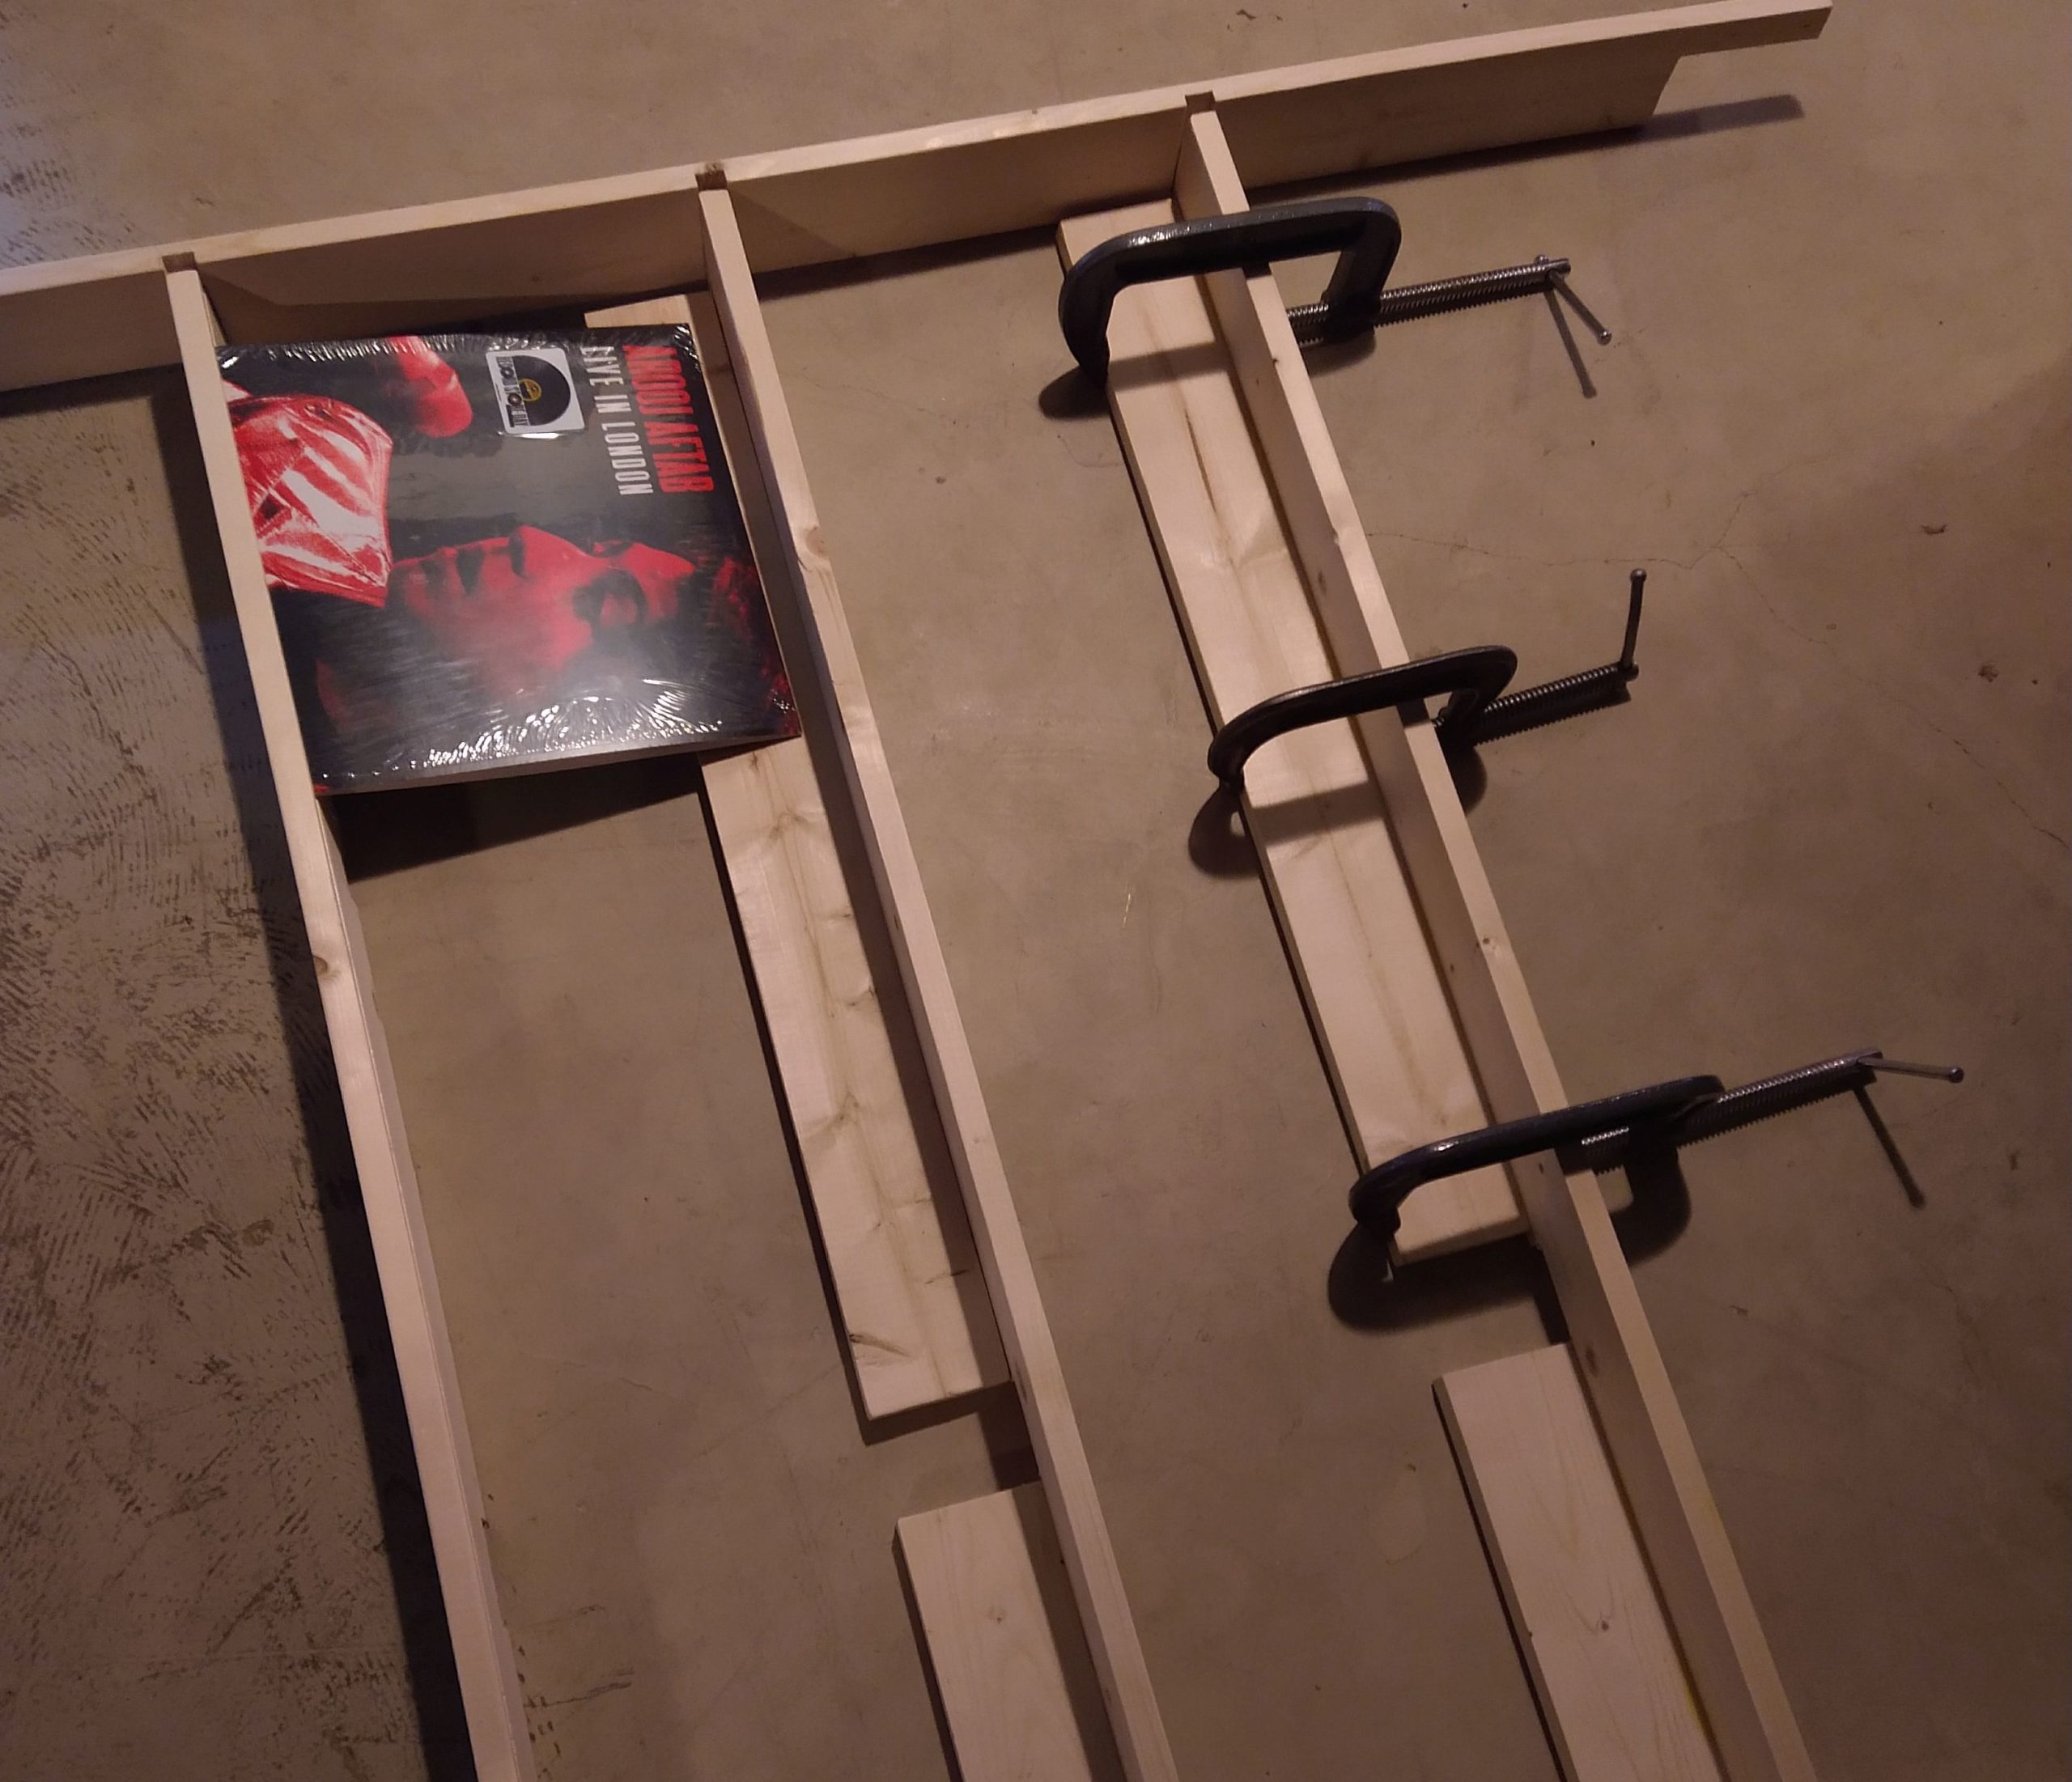
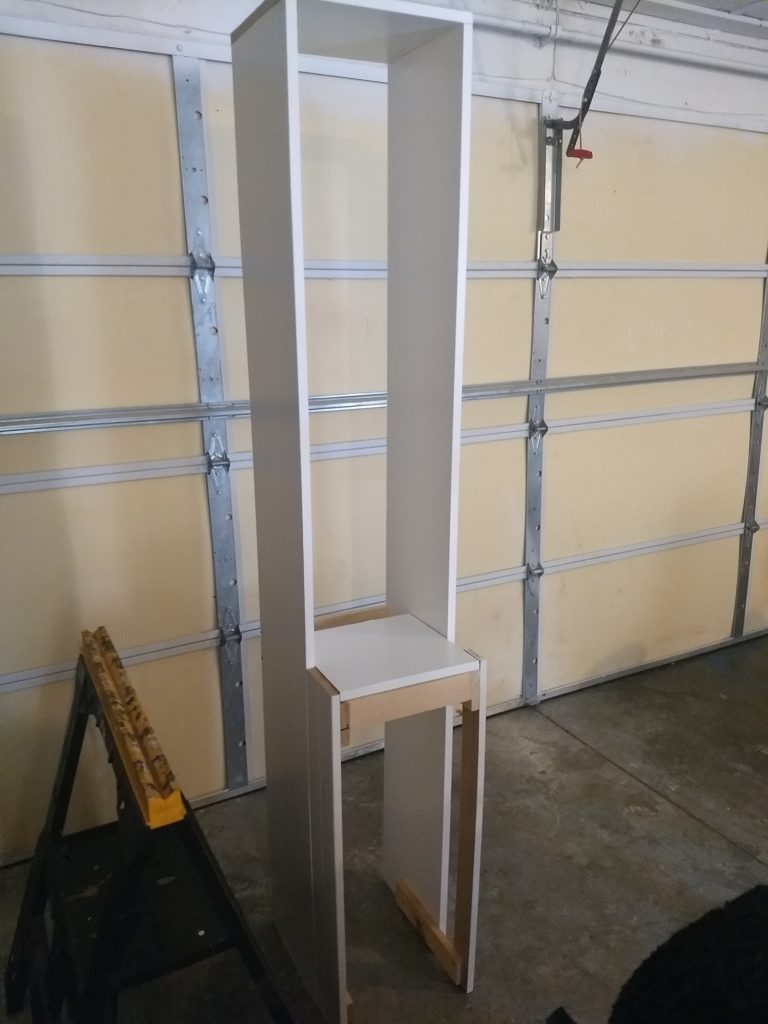
Each shelf also has an angled groove cut along the length so the albums sit slightly down in the shelf and are more secure. The whole thing is screwed to the rafter above for support. In fact the whole thing is much sturdier than I thought it would be. My main worry is that the albums would tumble off, damaging the records, but now that it’s up, I actually am not worried about that at all. Everything is very stable.
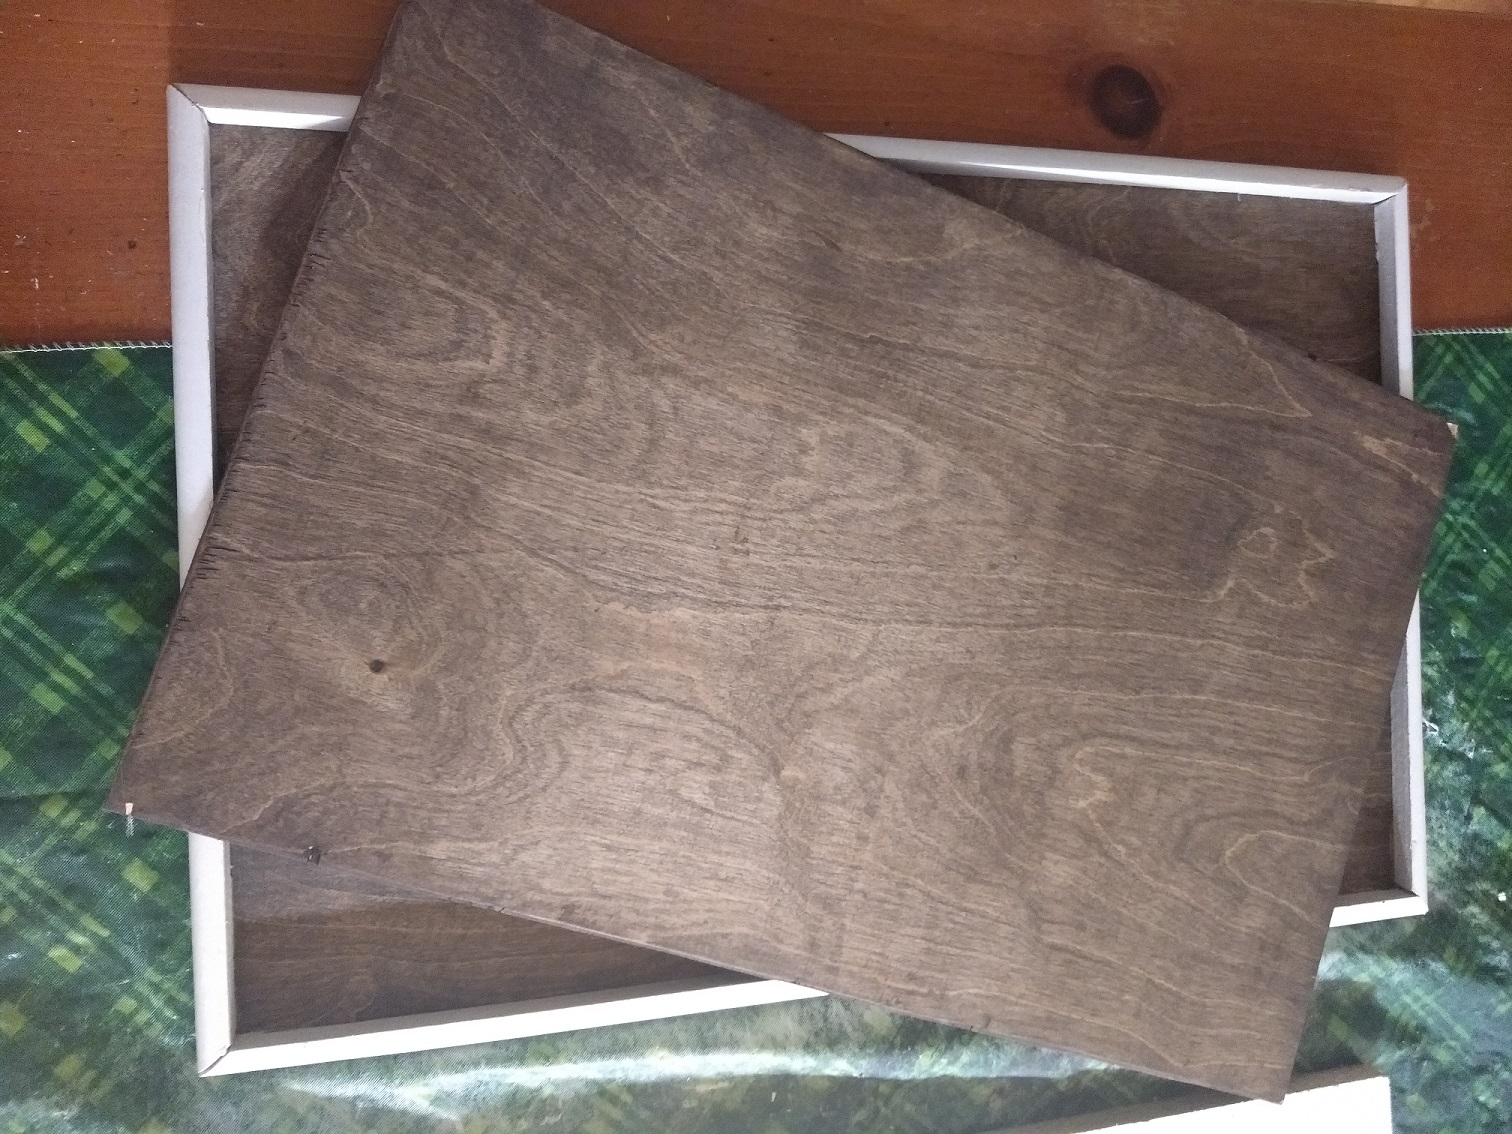
Also, my original plan was to stick the CD holder I had been using back on the lower shelf, in front of the new shelf. I immediately hated this look. But I also realized that there was a small gap near the bottom, so I added one more smaller shelf to put (most of) the CDs on. I really liked this end result. Plus the board I used here was a different type of wood that was just around, and it’s a much sturdier type of wood than the pine, so I didn’t end up needing to add a center leg like I had worried I might need to do.
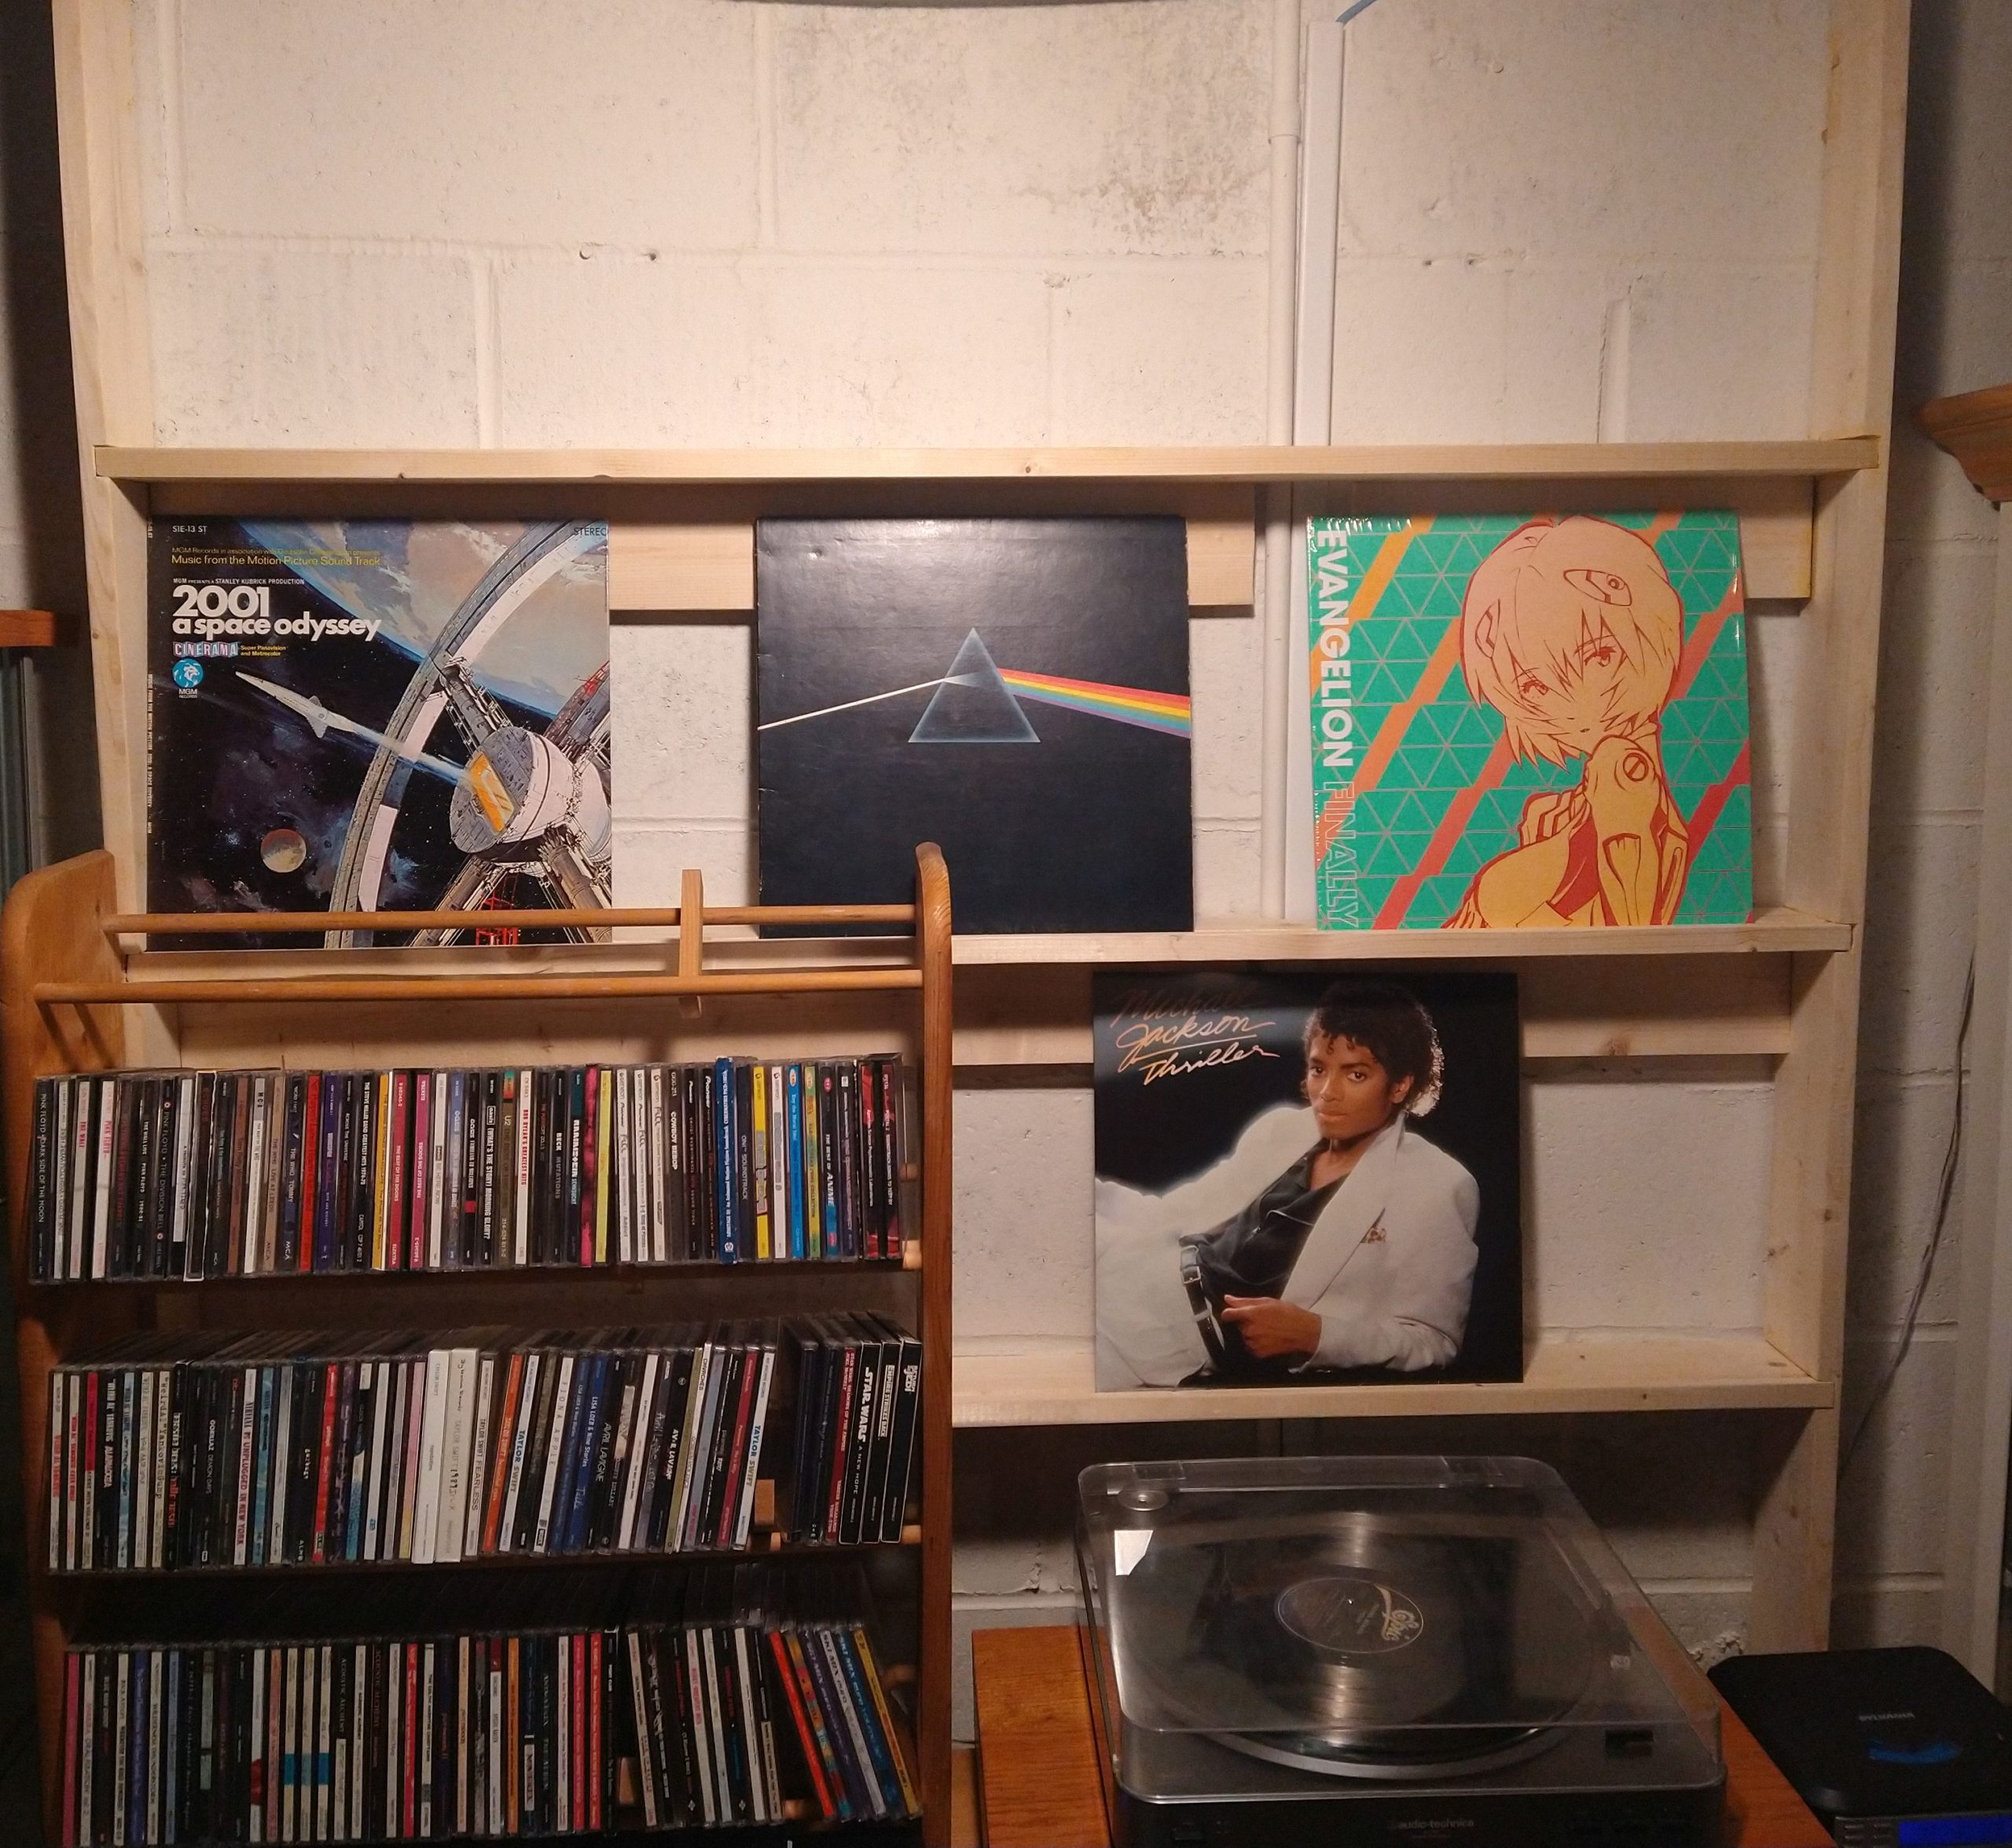
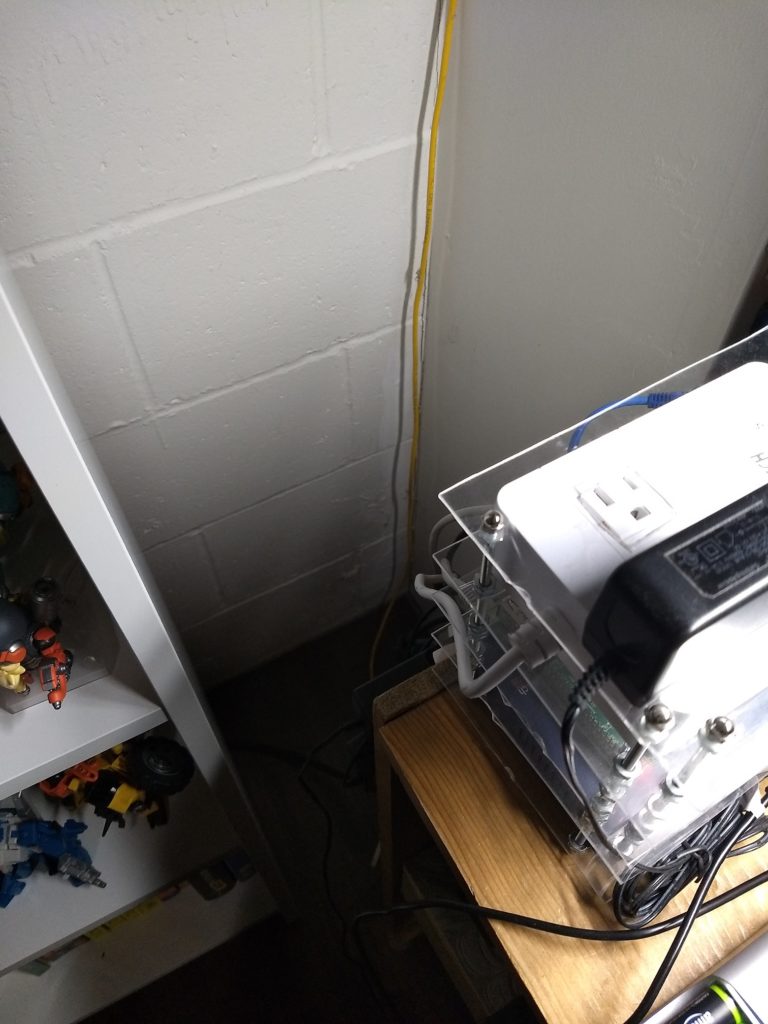
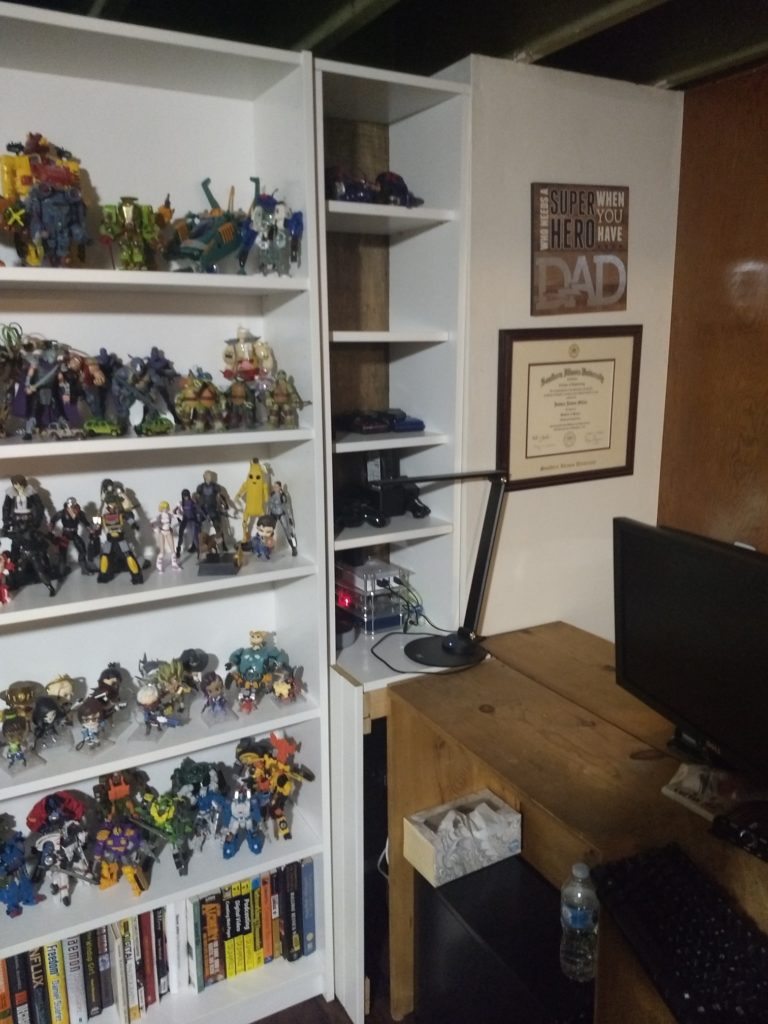
I suppose it’s also worth noting the equipment itself. The entire set up is pretty minimal. Everything is centered around this small mixer and amp combination.
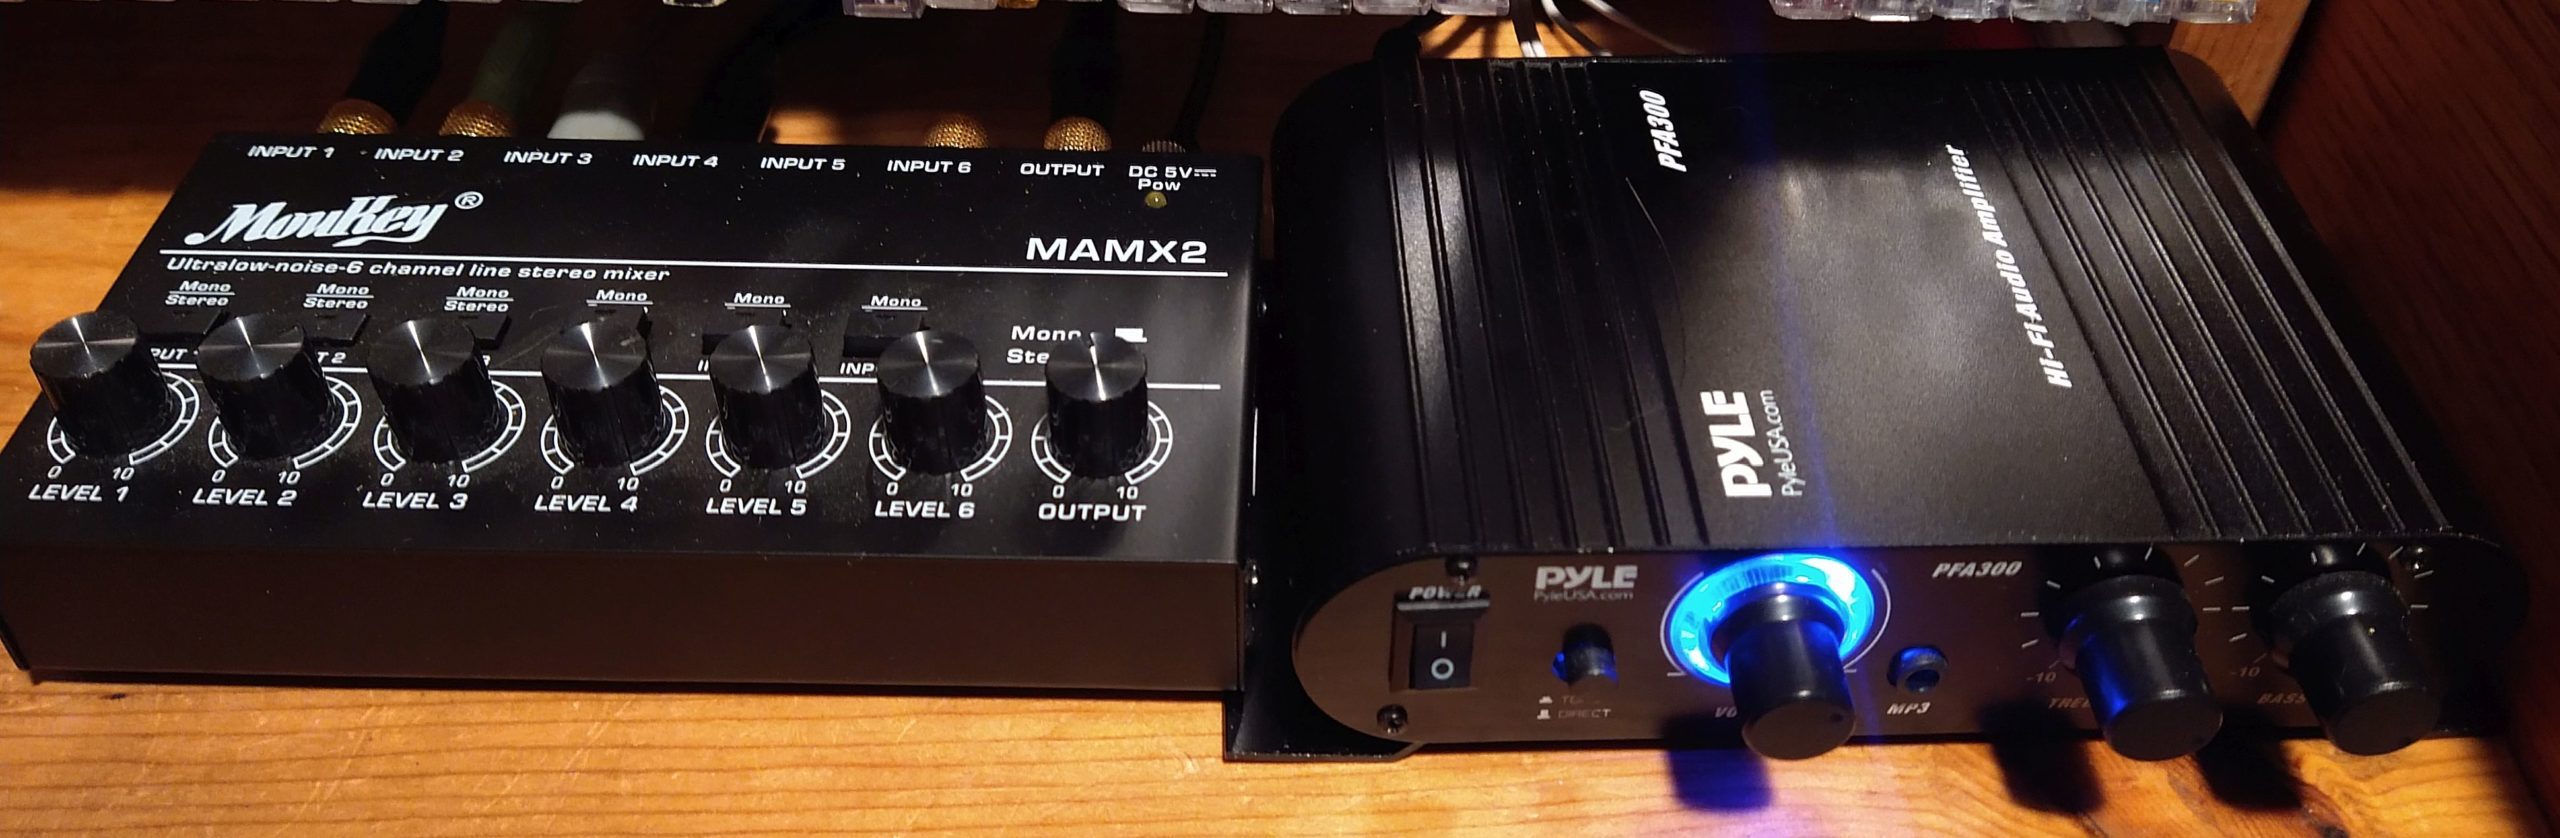
I originally bought the mixer for use at my PC, I wanted to be able to play games on one machine, and watch a video on another machine, and merge the audio out one headset. That didn’t really work out to be as useful as I had hoped, but instead I get to use the mixer for my music instead. The amp I bought to go with some nice JBL speakers I had, that needed 2 wire connections to work, also connected to the PC originally. Except I never ever use anything but a headset on my PC, so it was a waste.

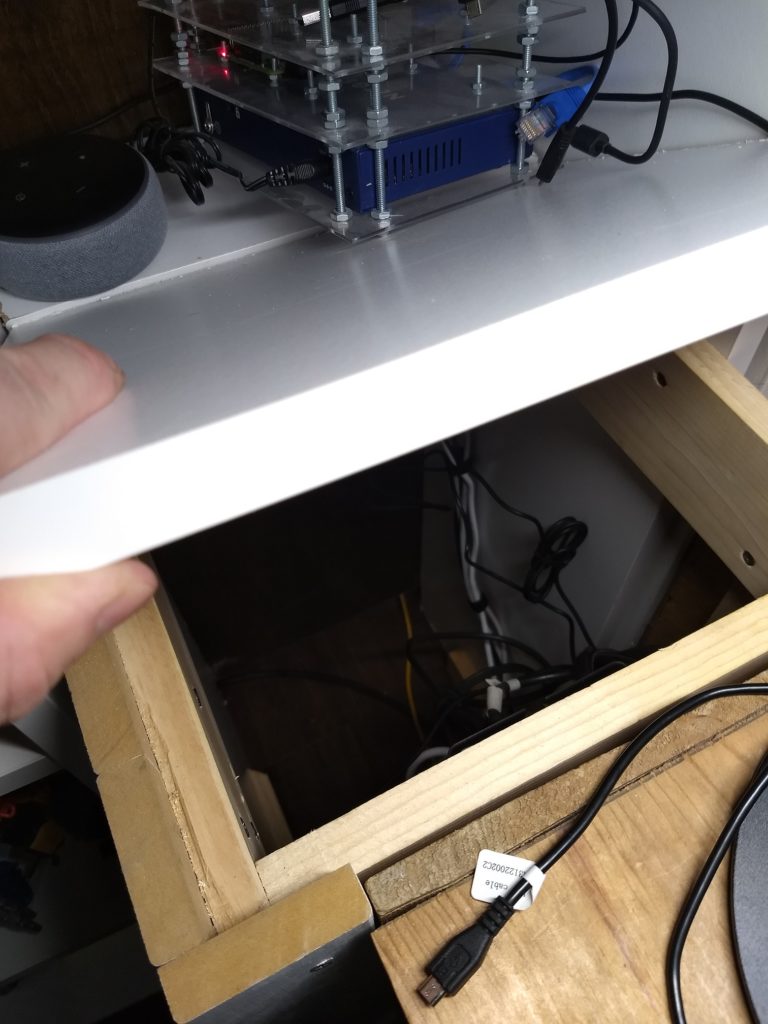
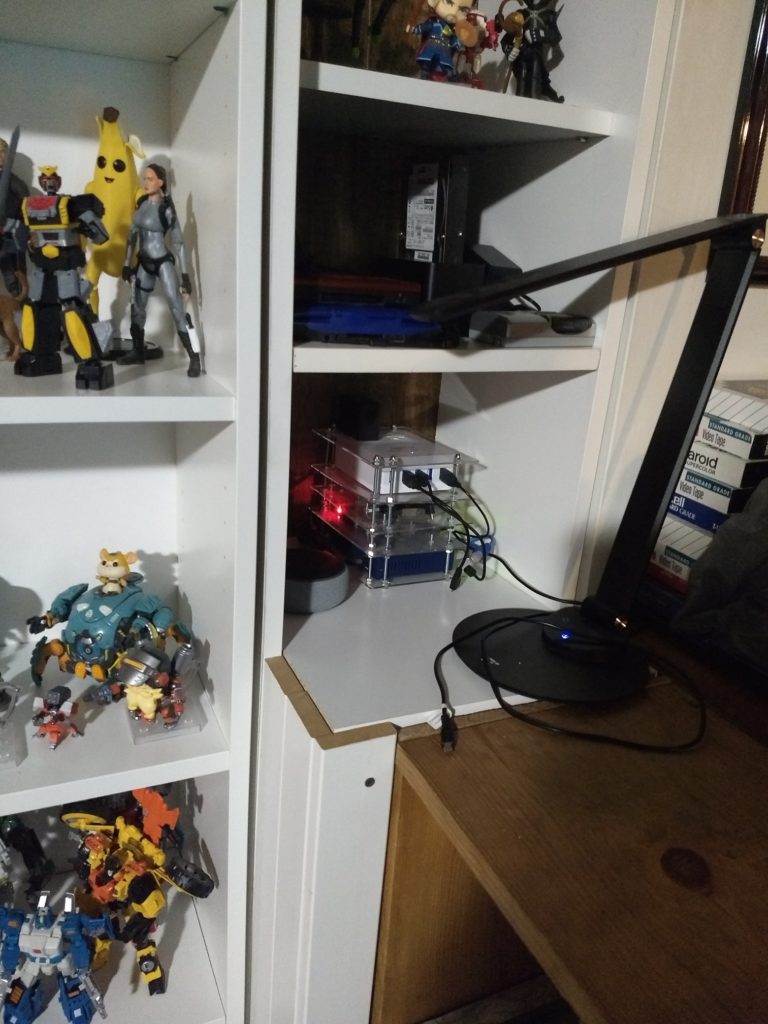
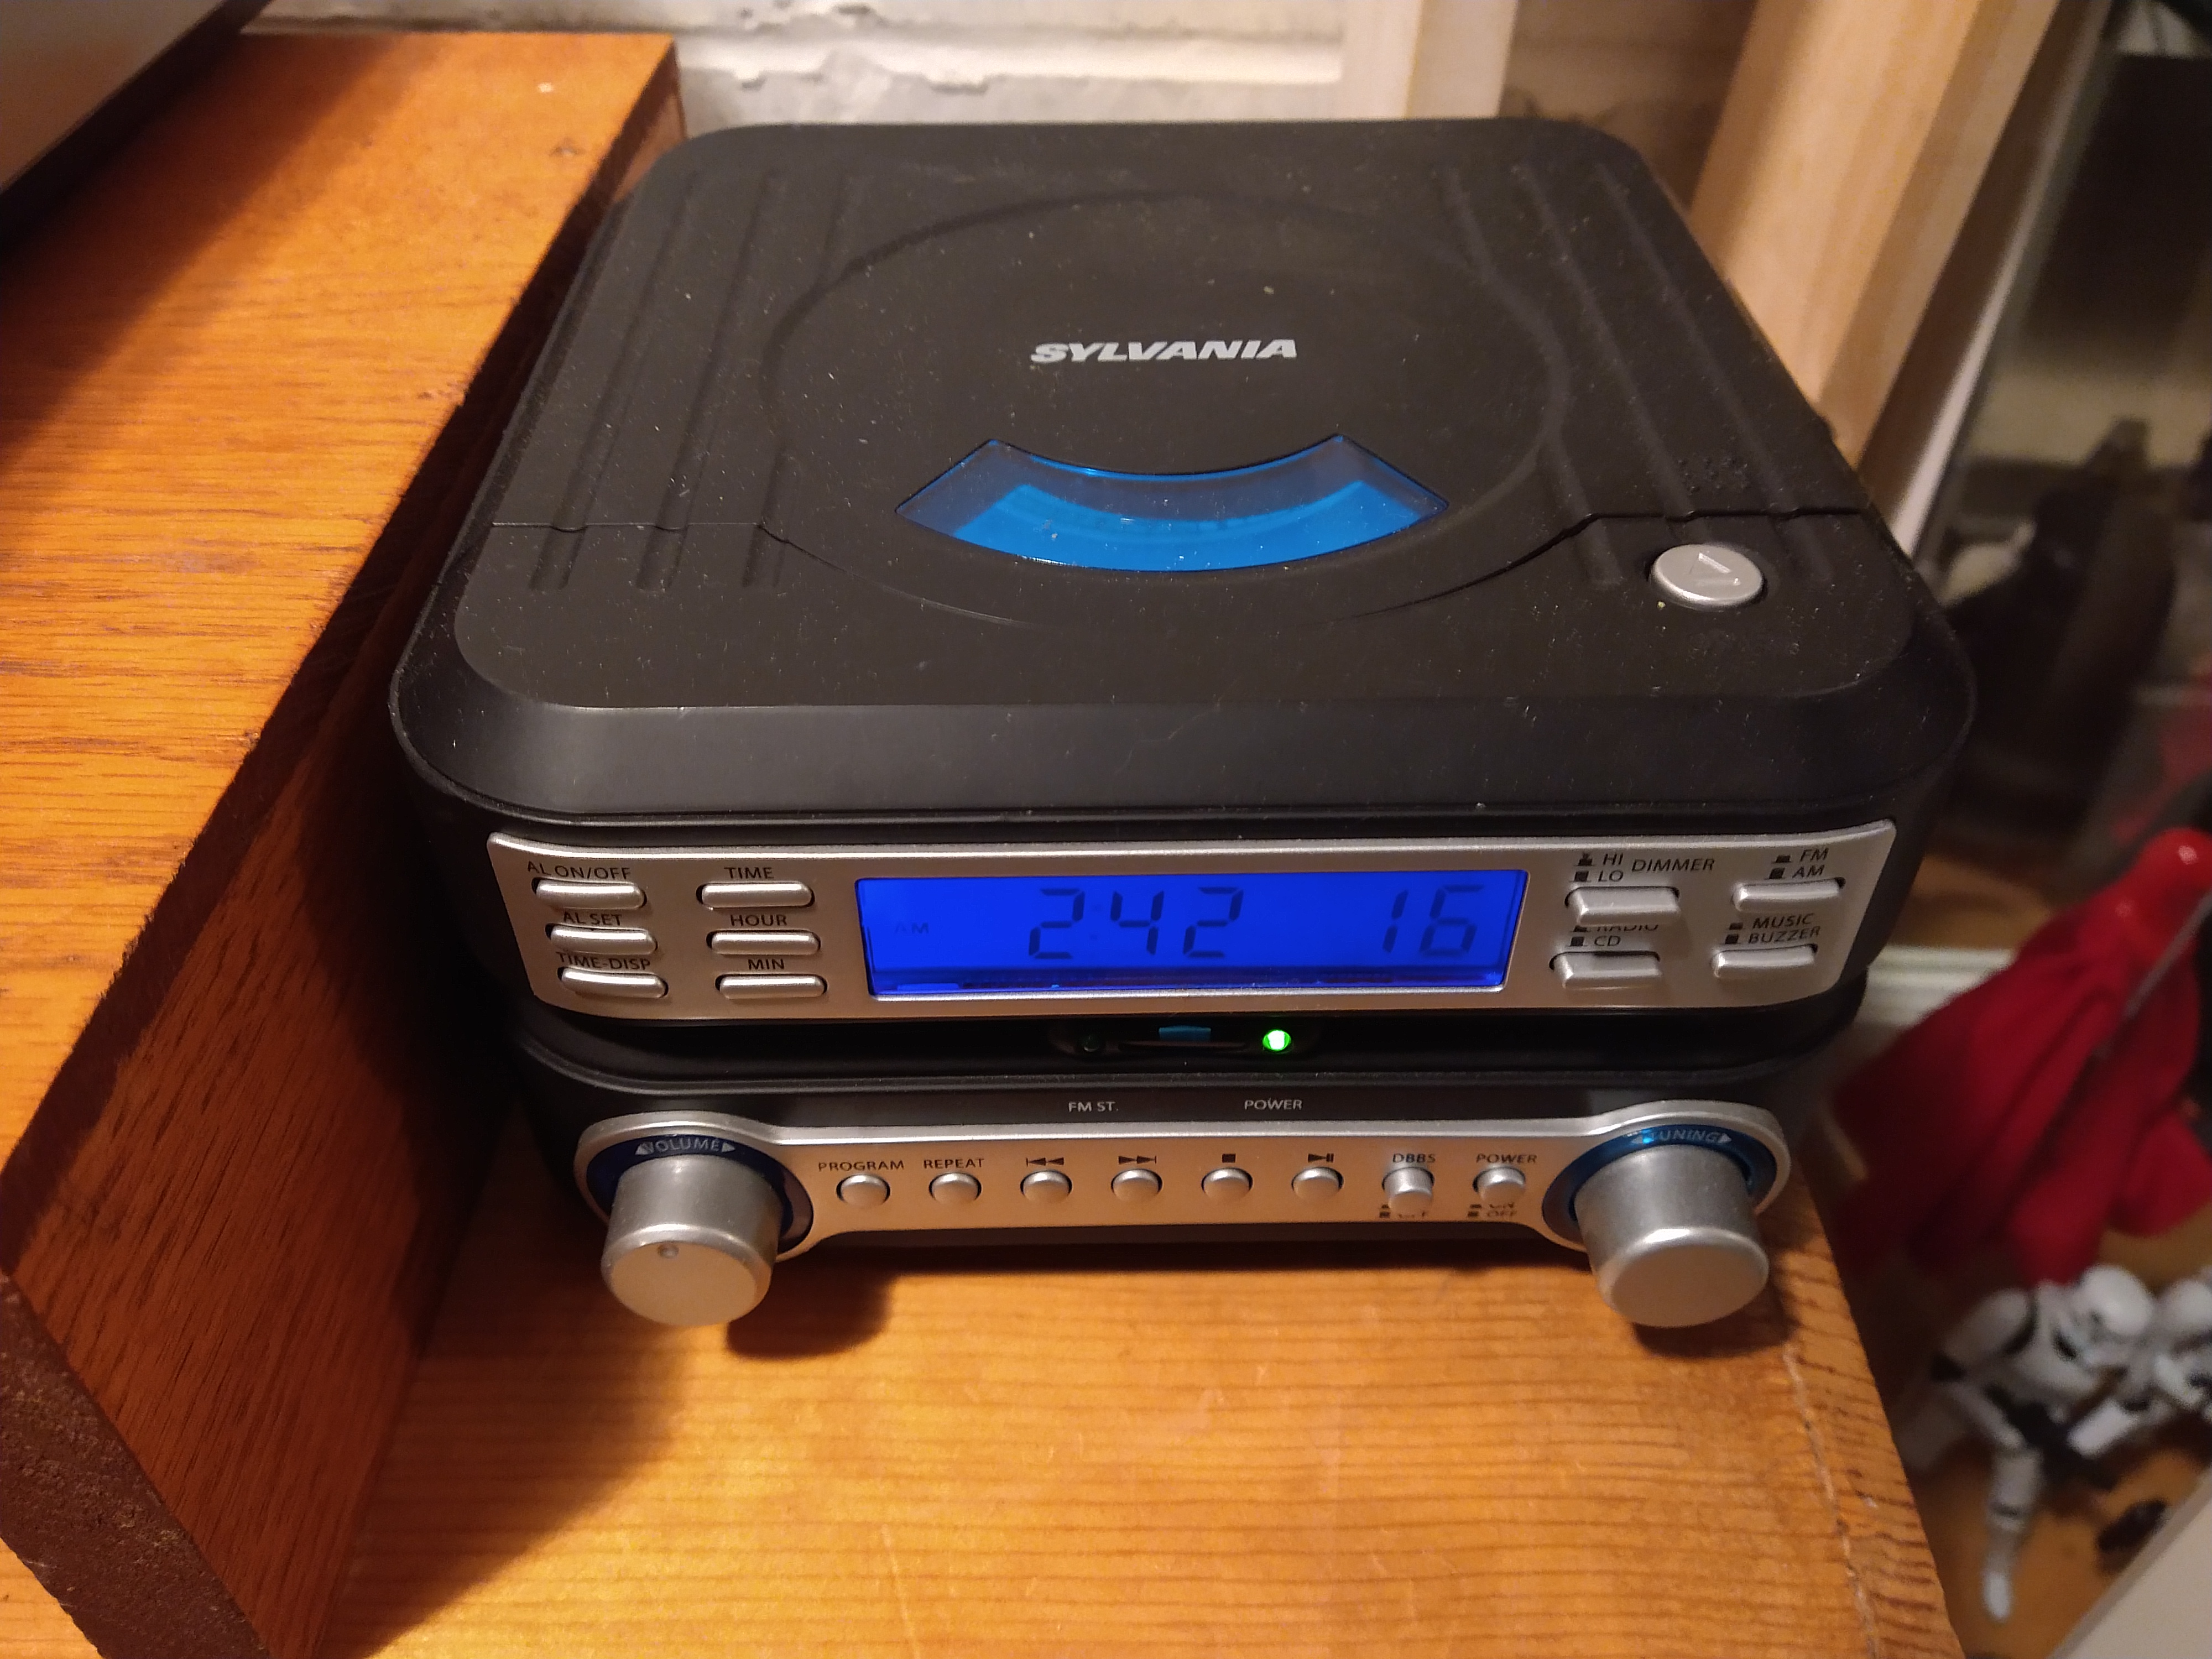
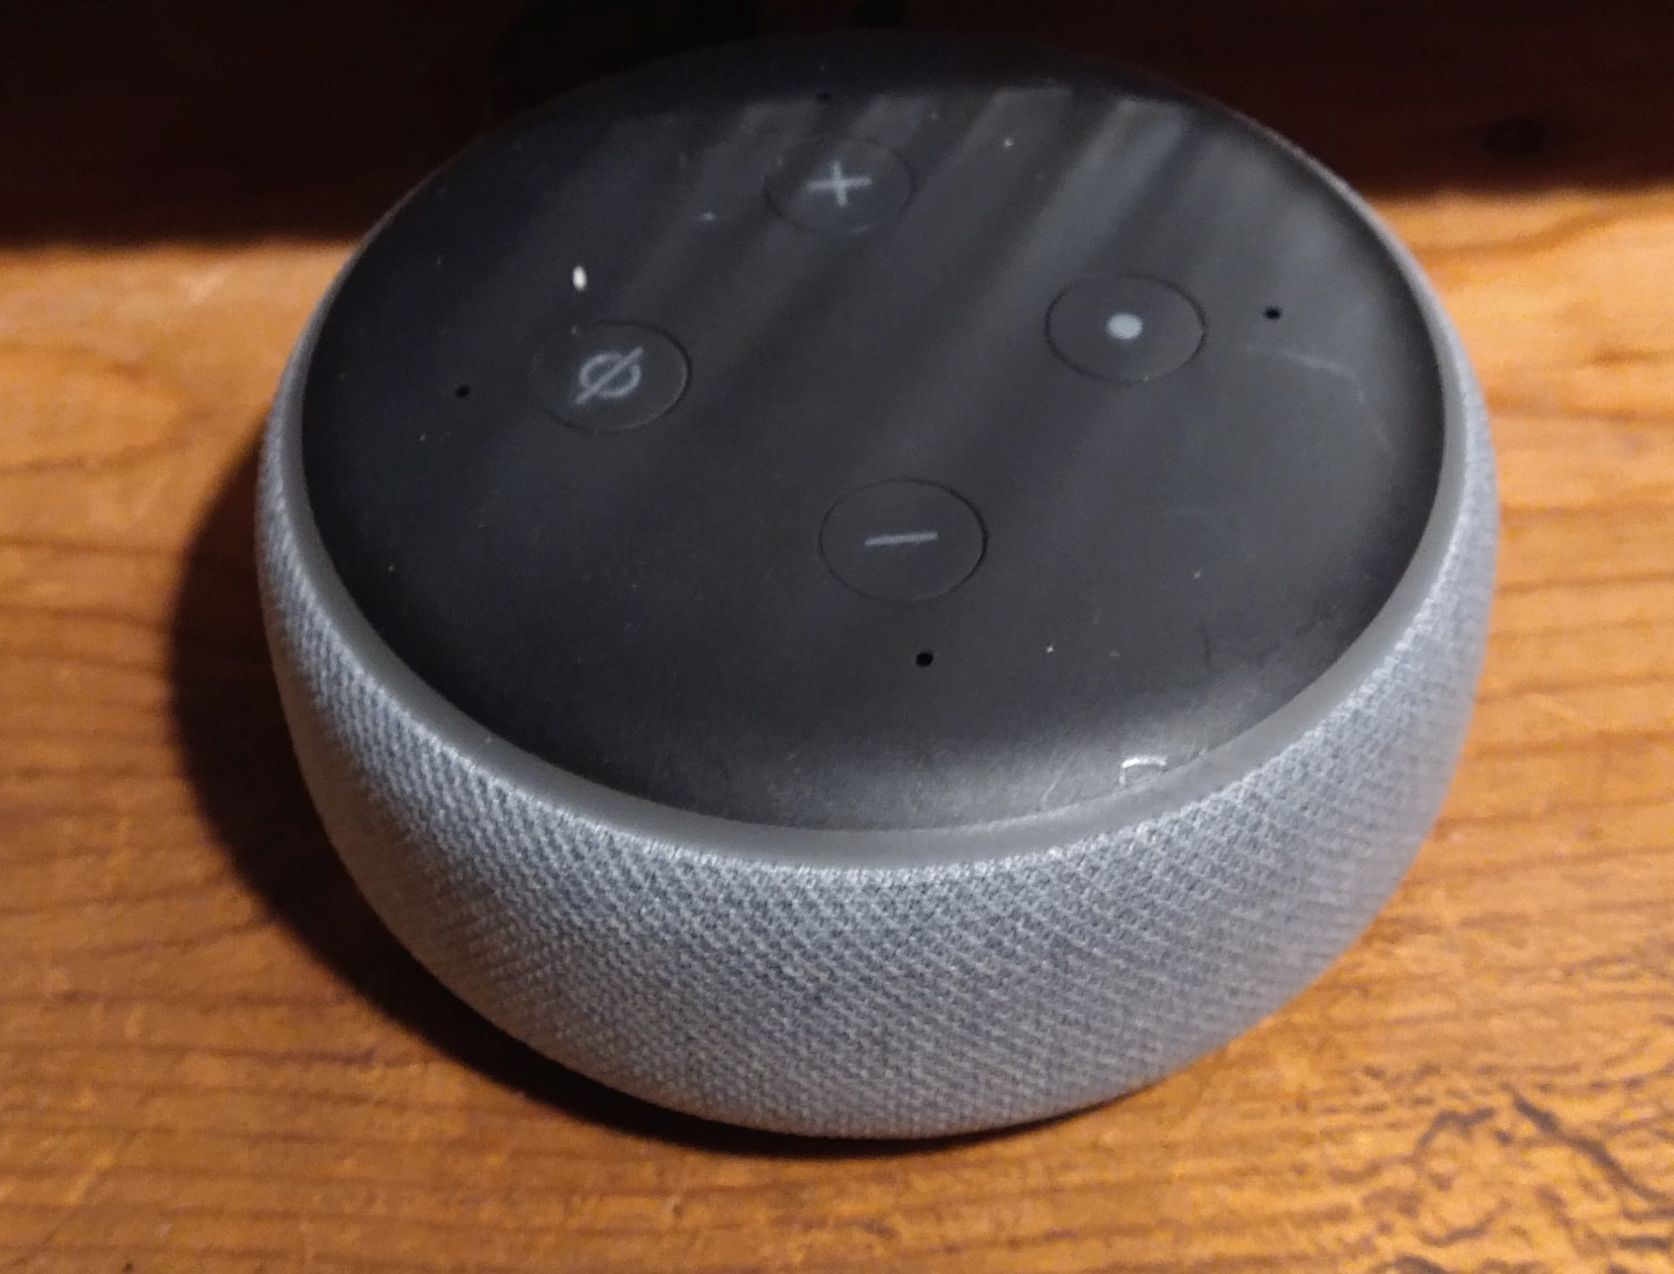
Connected to the Mixer are the input options. They can be played all at once, since it’s a mixer not a switch, but I’m not sure why you would want to. There is a Raspberry Pi hidden under the little shelf that connect to my music library and can be controlled remotely via a webpage. I have this kind of mediocre CD player that I’ll probably replace one day with something better, but still compact. Even a portable CD player would probably work better. There is also an Amazon Echo connected, but since Amazon jacked up their music service, I don’t use it as much. I also have an aux cord hanging off for connecting to a phone.
Lastly is my record player, which I bought at a garage sale. It works pretty well for my needs though. It’s an Audiotechnica AT-LP60, nothing fancy.
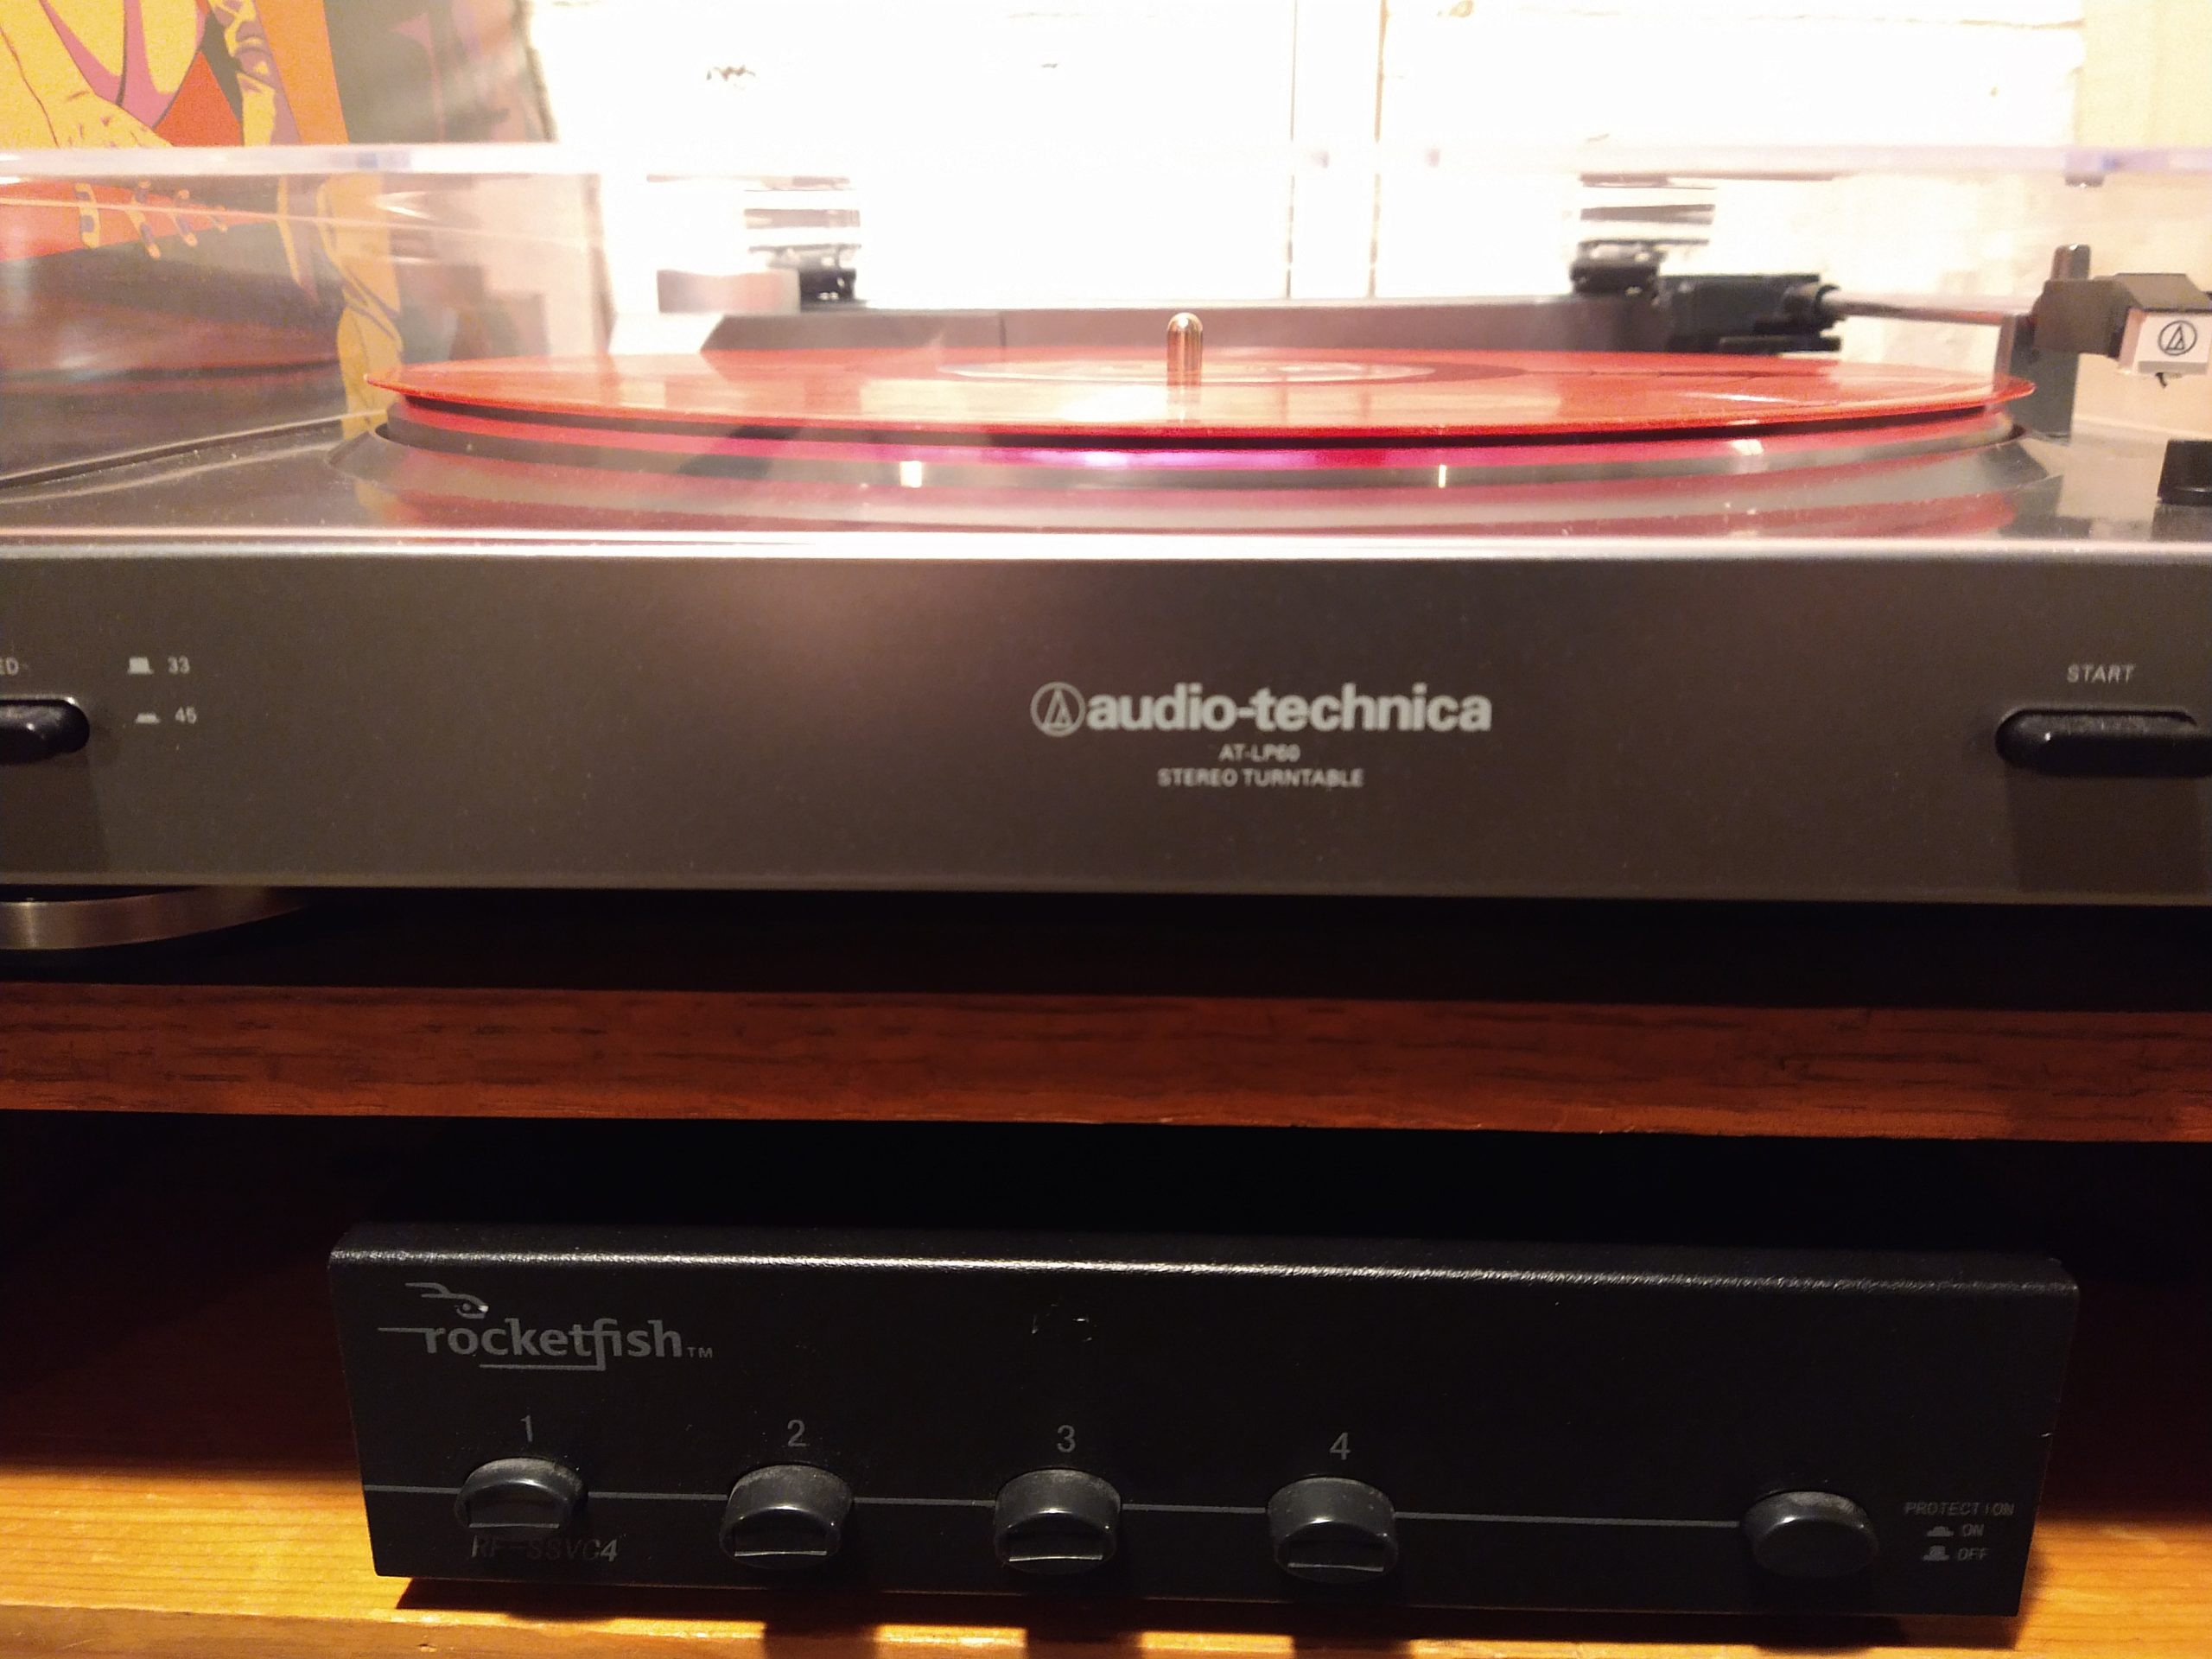
Lastly I have this recently acquired audio switcher. Right now I just have the one set of speakers, but at the very least, it will be easy to add a second set outside so I can listen to music while out on the deck or porch under the deck out back. The output selector will make this much easier to accomplish and it’s something I’d thought about getting at some point before, then I came across one at an estate sale.
Josh Miller aka “Ramen Junkie”. I write about my various hobbies here. Mostly coding, photography, and music. Sometimes I just write about life in general. I also post sometimes about toy collecting and video games at Lameazoid.com.