Even before buying any Raspberry Pi computers, I had this sort of vision for neat rack to put several of them in. The idea evolved a bit as the logistics of it got ironed out but after picking up a second Pi (and planning to get a third), I went and built the thing.
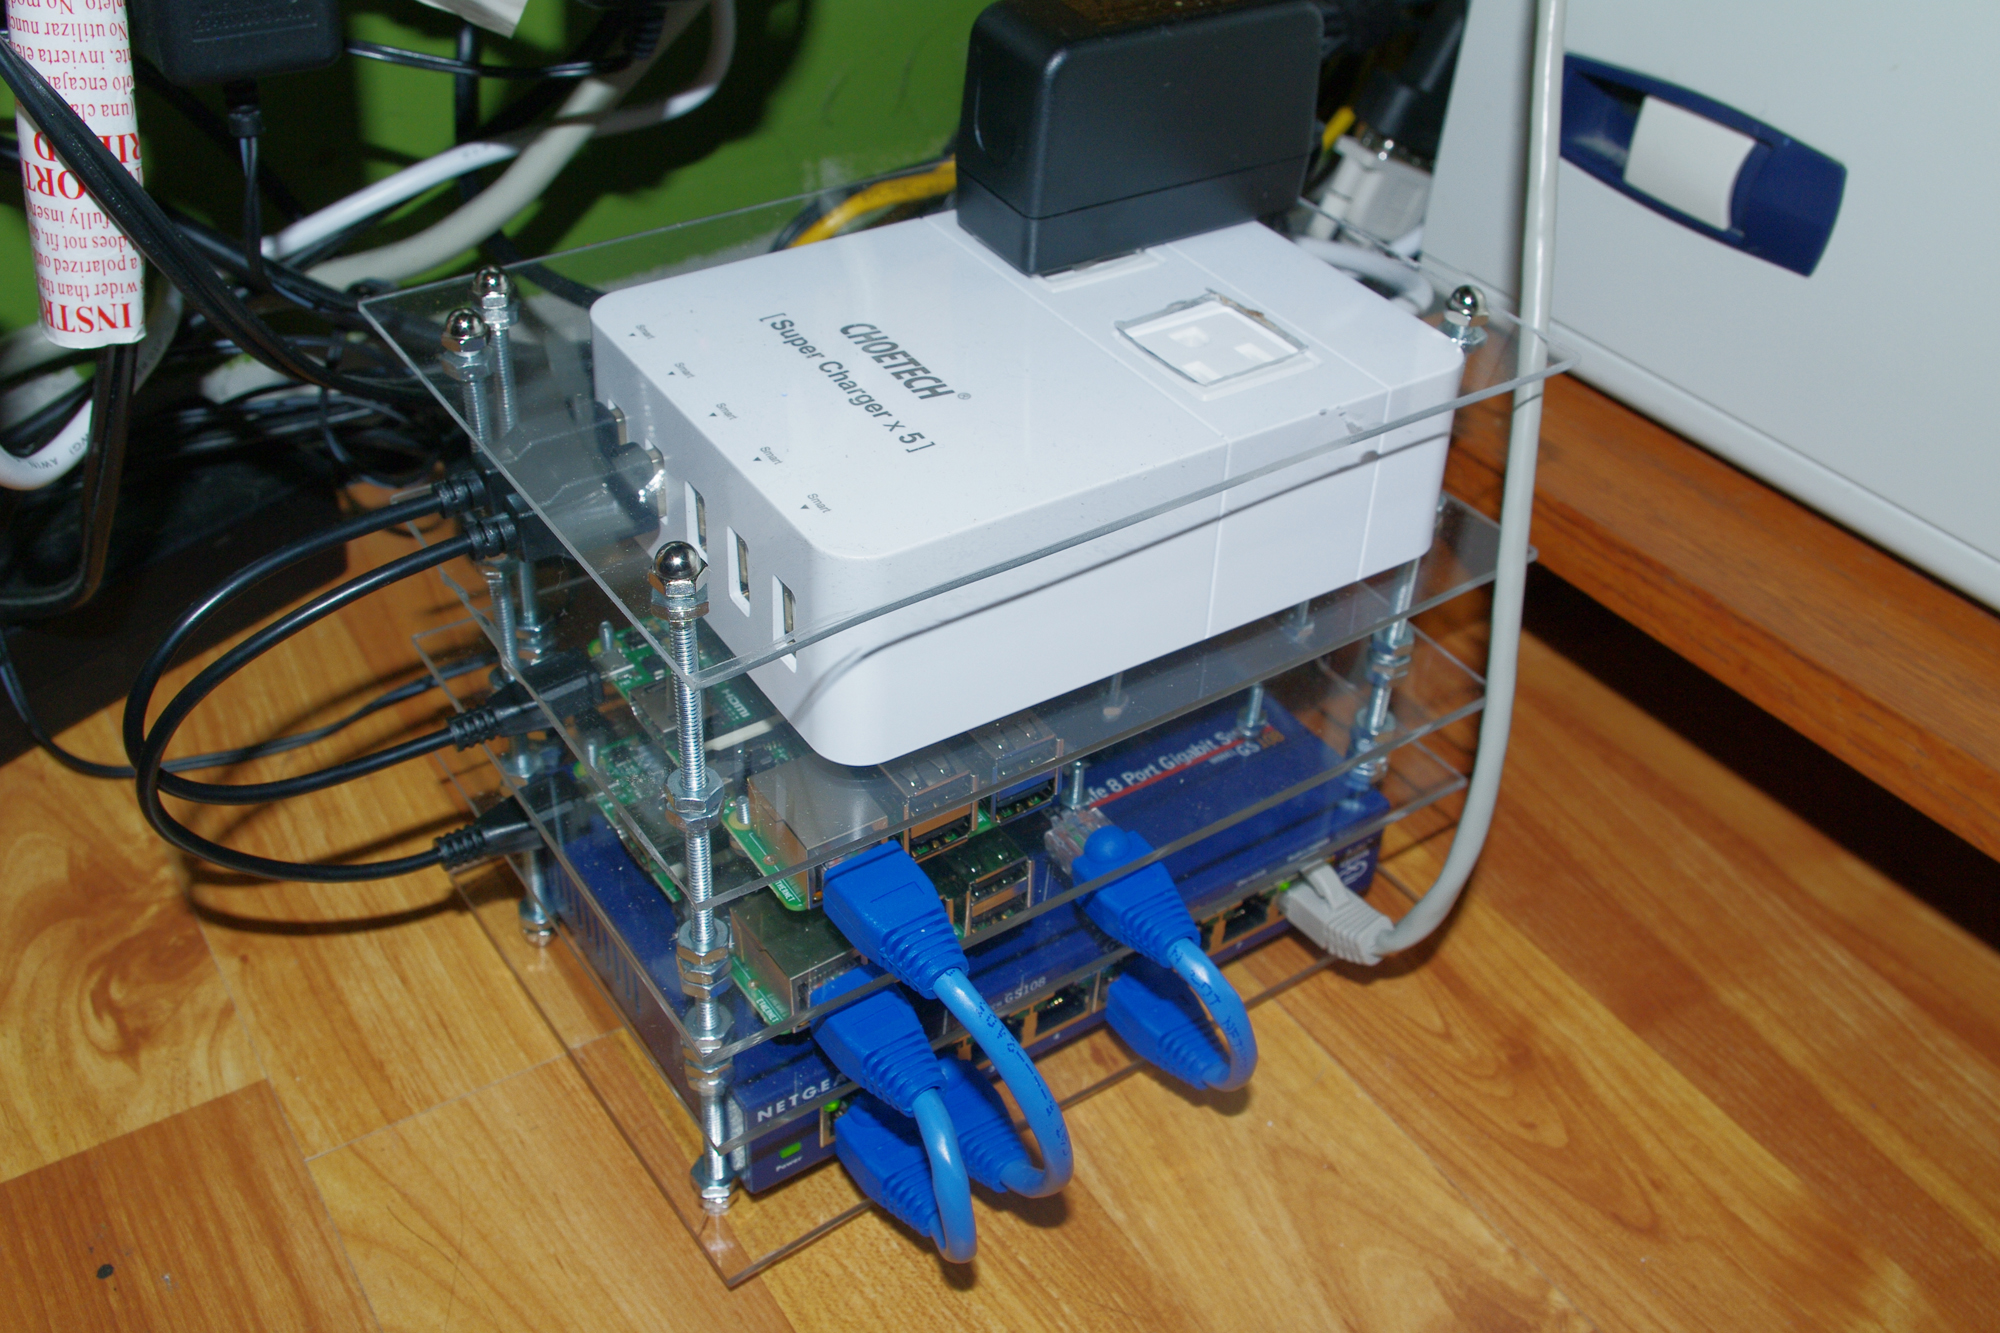
Sorry for the mediocre pictures, I didn’t think to take photos until things were running and I didn’t really want to unplug it. It currently holds a Raspberry Pi B+ and a Raspberry Pi2 B, the B+ is running a ZNC server to keep me connected to several IRC channels and the Raspberry Pi 2B is running a small OpenSIM server, though I’ll probably re-purpose it since in testing performance seems to top out at around 2000 Prim cubes and 4 Avatars. The instance I’ve got running on my VPS is much more suitable. On the other hand, it could be a good place to “archive” builds.
The build itself is pretty straight forward. I used (roughly) the following materials picked up at Lowes:
- 3 pieces of 10×8 plexiglass cut to 5×7 size.
- 6 6″ #8 thread rods.
- 8 (2 packages) of #8 rounded caps.
- 3 packages of #8 nuts
- 6″ Micro USB cables from Amazon
- Cat 5 Cable cut and crimped as needed
- 1 Netgear Switch I had already
- 1 Choetech 40W Smart power from Amazon.
- The smaller screws holding the Pis in are 4mm i believe, and it took two packages of them (16 screws and 32 nuts).
The hardest part was working with the Plexiglass pieces. I could have cut it with the Dremel but the edge would have been all crooked for sure. Instead I scored and snapped them, which did leave a jagged edge on one edge but it could easily be sanded off. On a starting note, the Plexiglass comes with a plastic protective layer, this should be left ON until final assembly to protect the clear surface as much as possible.
Anyway, to cut the sheets down, I used a square and a box cutter to but a line where I wanted the break to be on one side, then clamped the sheet down on the edge of the workbench between the surface and a 2×4. The 2×4 was mostly to help protect the surface of the plexiglass from the clamps. The cut edge should be on the up side, right at the edge of the surface and the 2×4 (or whatever) at the edge on top. The Plexiglass should snap more or less cleanly off. I had some small chips left hanging on the shorter 1″ breaks to shorten the shelves to 7″ from 8″. I used a small hammer while the pieces was still clamped down to chip these down a bit.
The real trick was drilling the holes. In the end, I found the best results came from clamping all of the plastic sheets together between some boards and drilling them all at once. There should be a piece of wood completely covering the bottom of the drilling spot to help support the plexiglass as the drill penetrates through.
I had some trial and error trying to drill my sheets separately, so the holes are not perfect. For the mounting holes I laid the Pi itself where I wanted it and uses a pen to mark the holes. I probably could have done a bit better with a paper guide though.
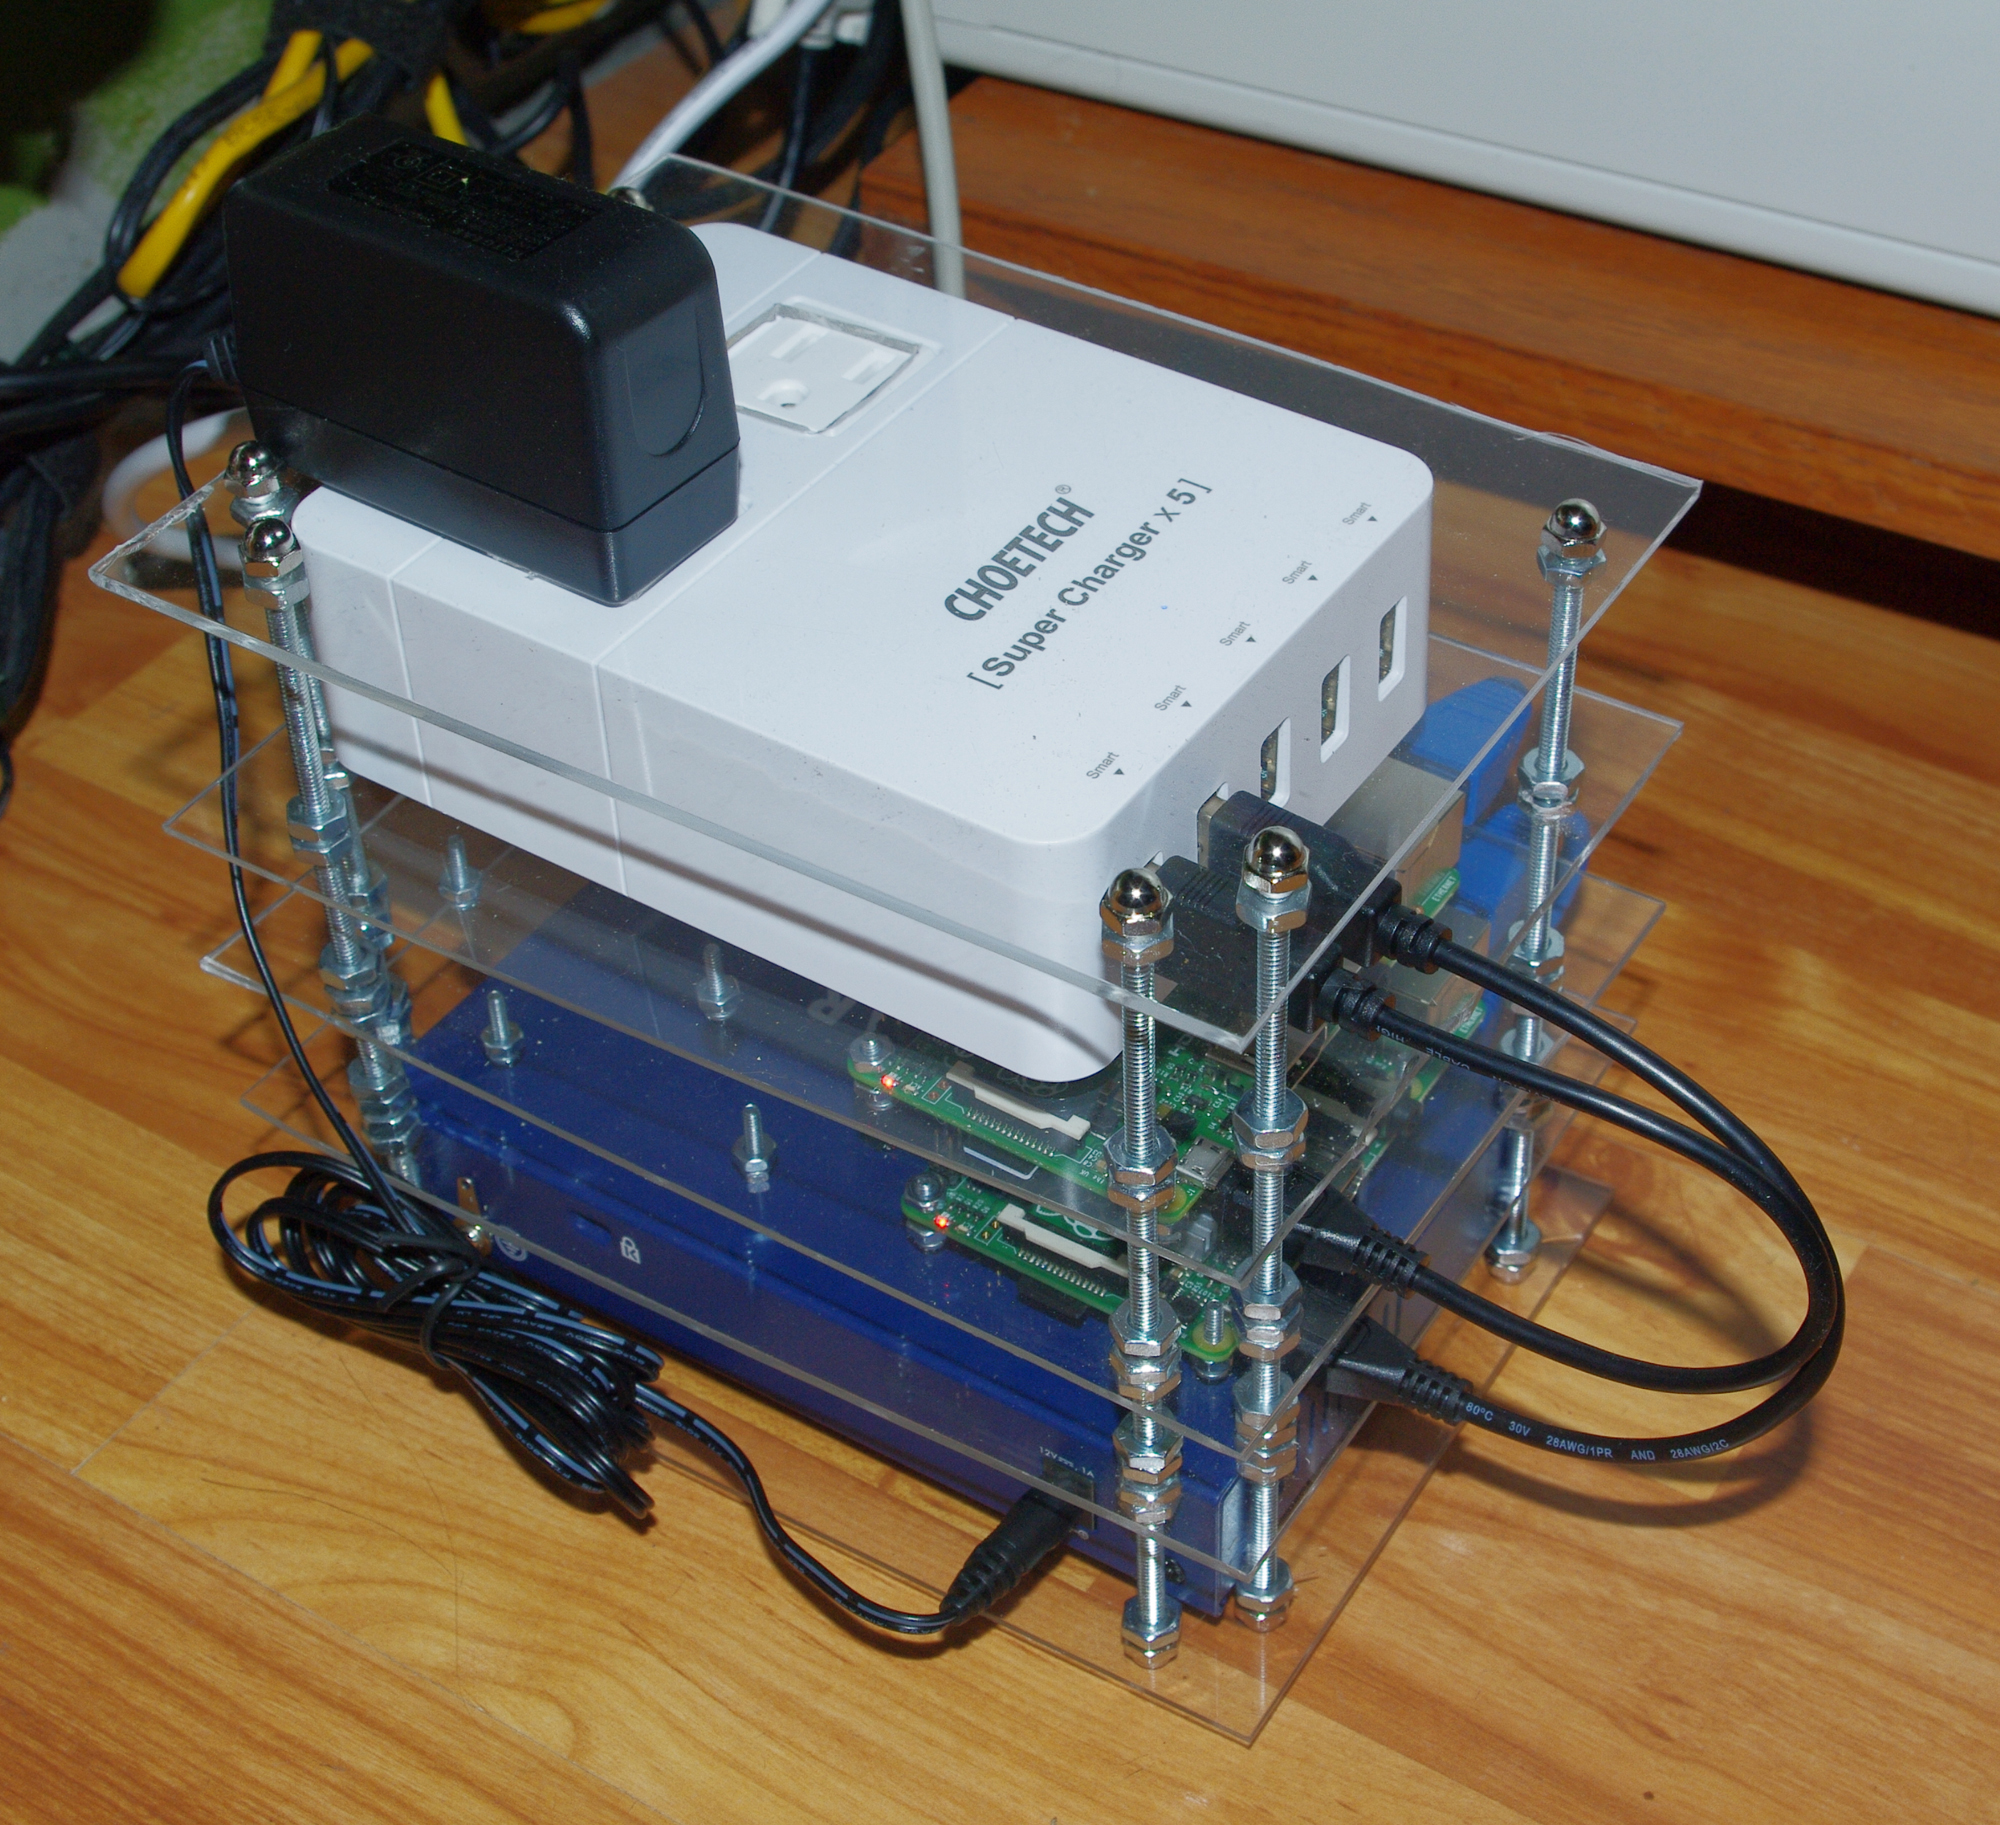
Assembly was pretty easy, just a lot of tedious screwing of nuts as the thread rods were fed through the holes. Each shelf takes at a minimum, one nut above and below to hold them in place and the rounded caps go on the top and bottom. The power supply and switch are not mounted, they are simply sandwiched in place between the shelves, though the supporting long bars were positioned around the Switch to prevent it from sliding left or right or backwards.
The Power supply I picked because it has two standard wall outlets on one side. I used the Dremel to cut holes in the top sheet to allow these plugs to be accessible. I wanted the unit to be as self contained as possible, these plugs give me a place to plug the Switch in. It’s important when choosing a power supply that it has enough power on all ports to power a Pi. A USB HUB doesn’t work since it will distribute power across all the ports. Several ports I looked at had 2 “high output” ports for iPads and iPhones but the rest were lower output.
The USB power cables were 6″ jumpers I found on Amazon and the CAT 5 cable were small jumpers I made myself with ends and a crimper. When I add the back two Pis I’ll need different cables though, likely cables with a 90 degree connector and definitely longer ones.
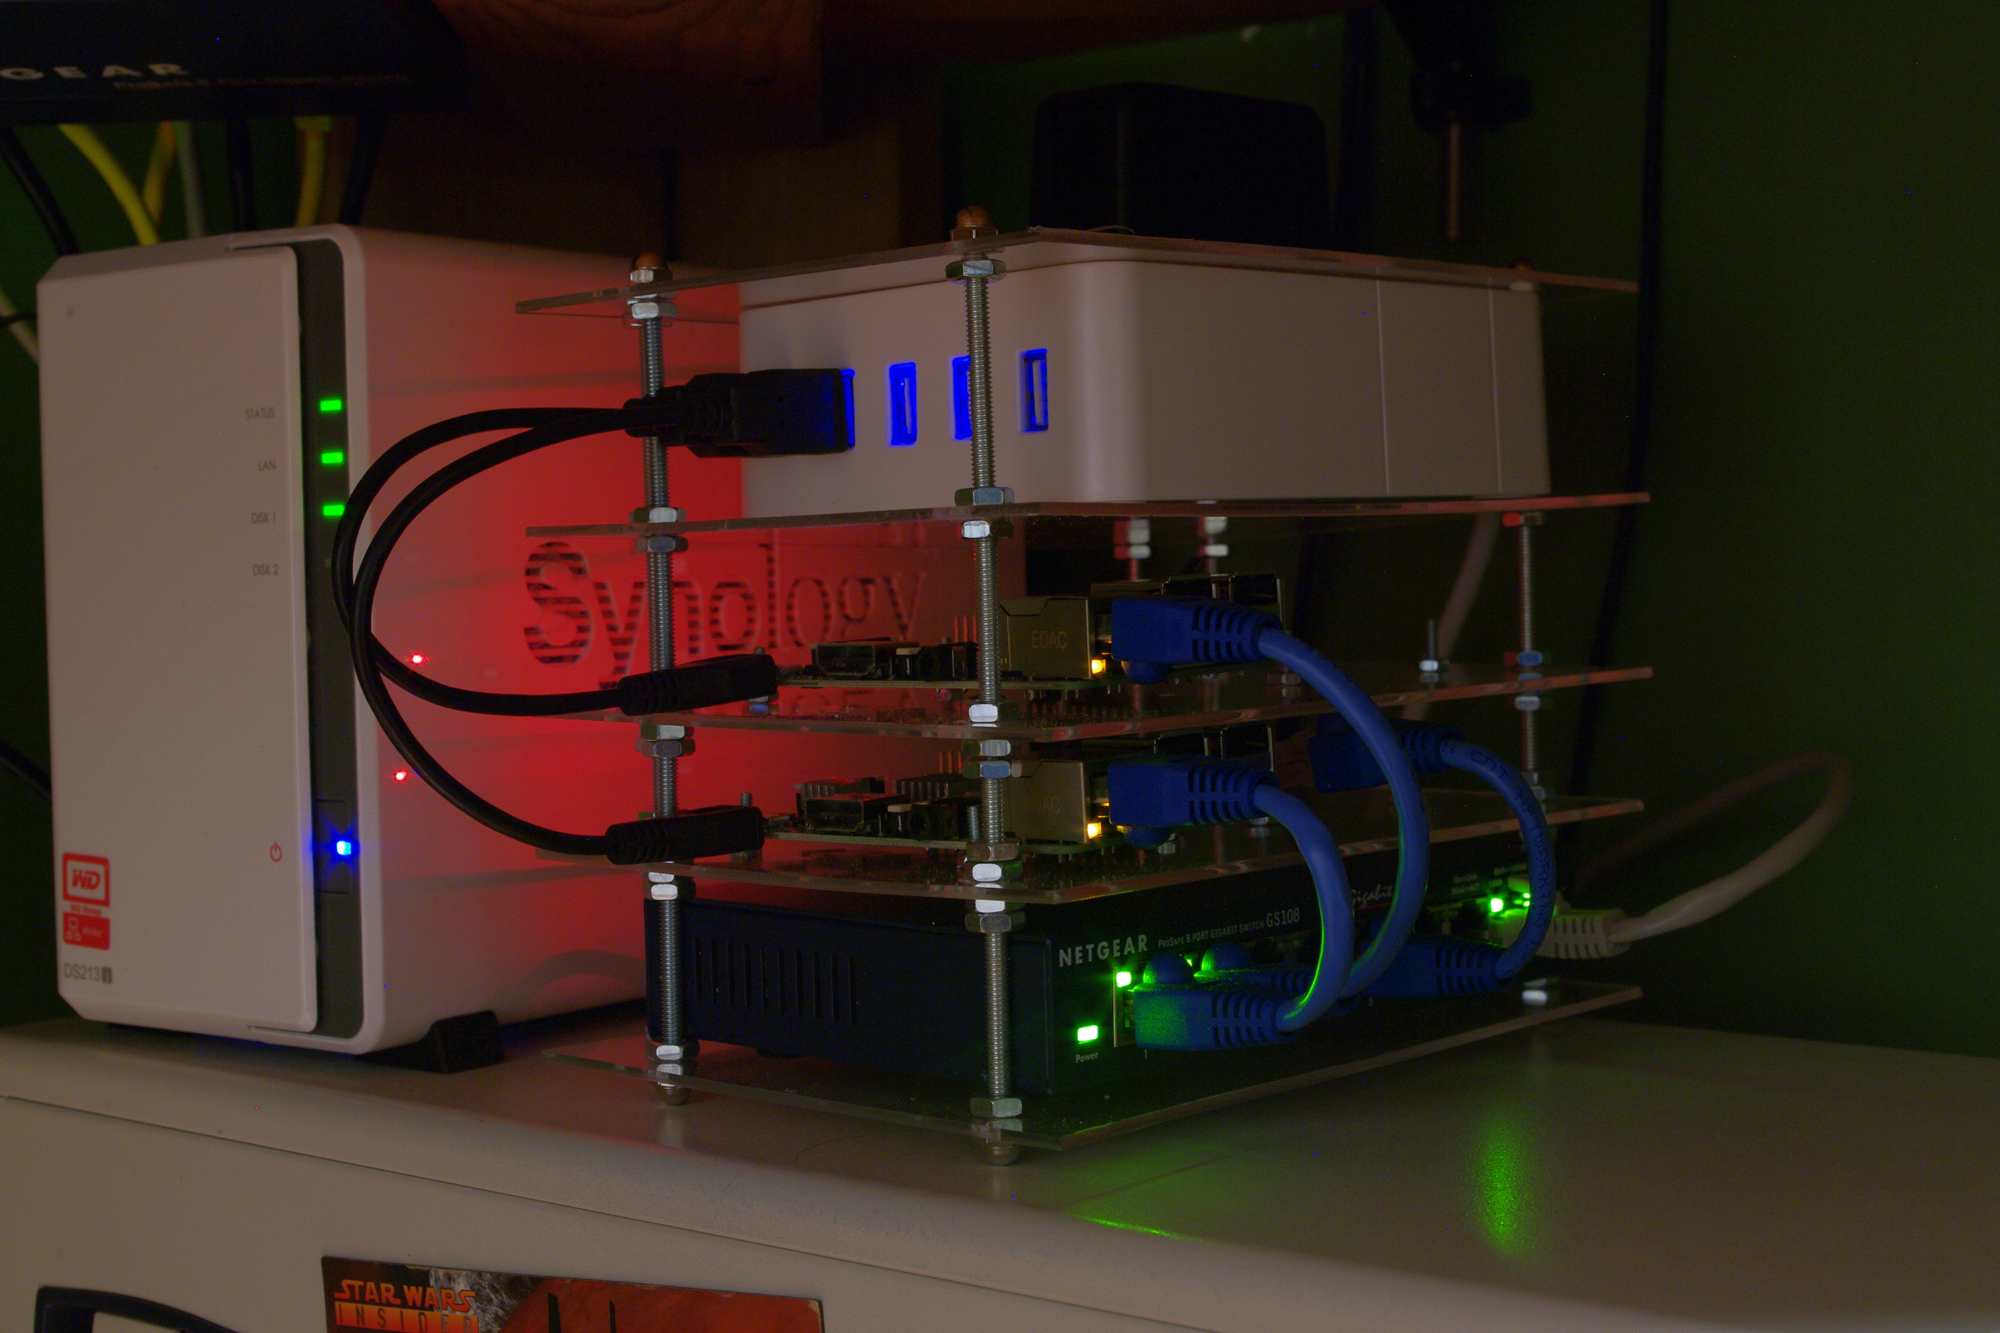
The whole package sits nicely on top of my desktop box next to my Synology NAS.
Josh Miller aka “Ramen Junkie”. I write about my various hobbies here. Mostly coding, photography, and music. Sometimes I just write about life in general. I also post sometimes about toy collecting and video games at Lameazoid.com.
[…] pillar halfway down the wall. This was, sort of an issue before. The secondary issue, I have this Raspberry Pi Rack that I previously had sitting on a shorter bookcase next to the desk. That bookcase has been […]