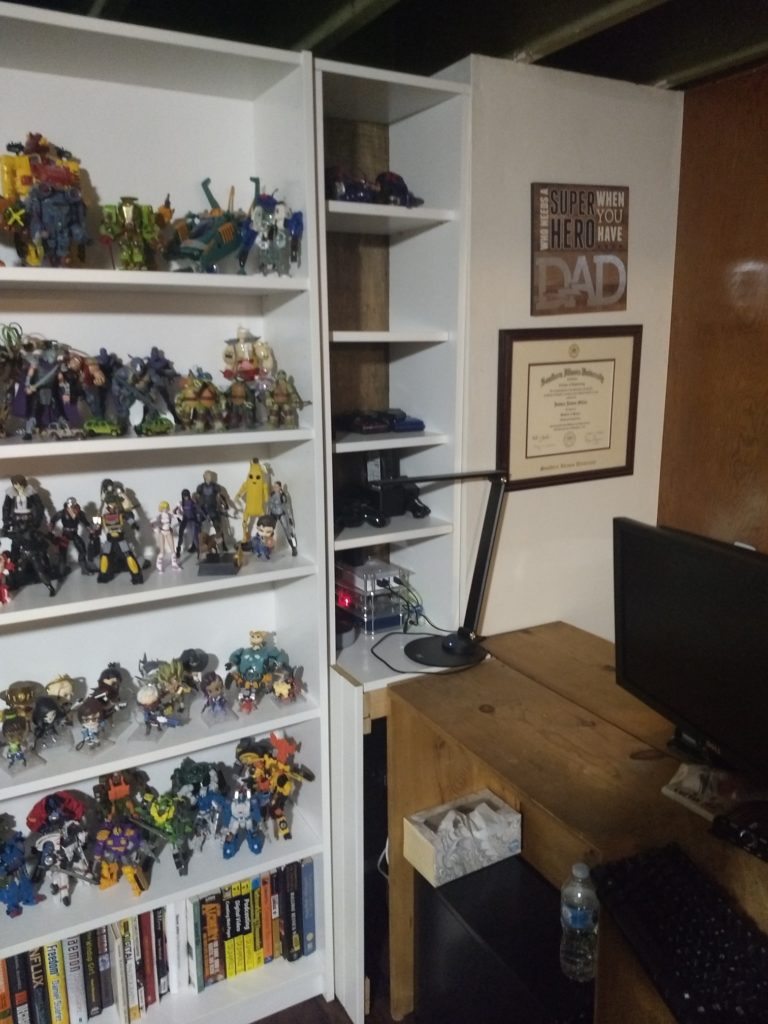
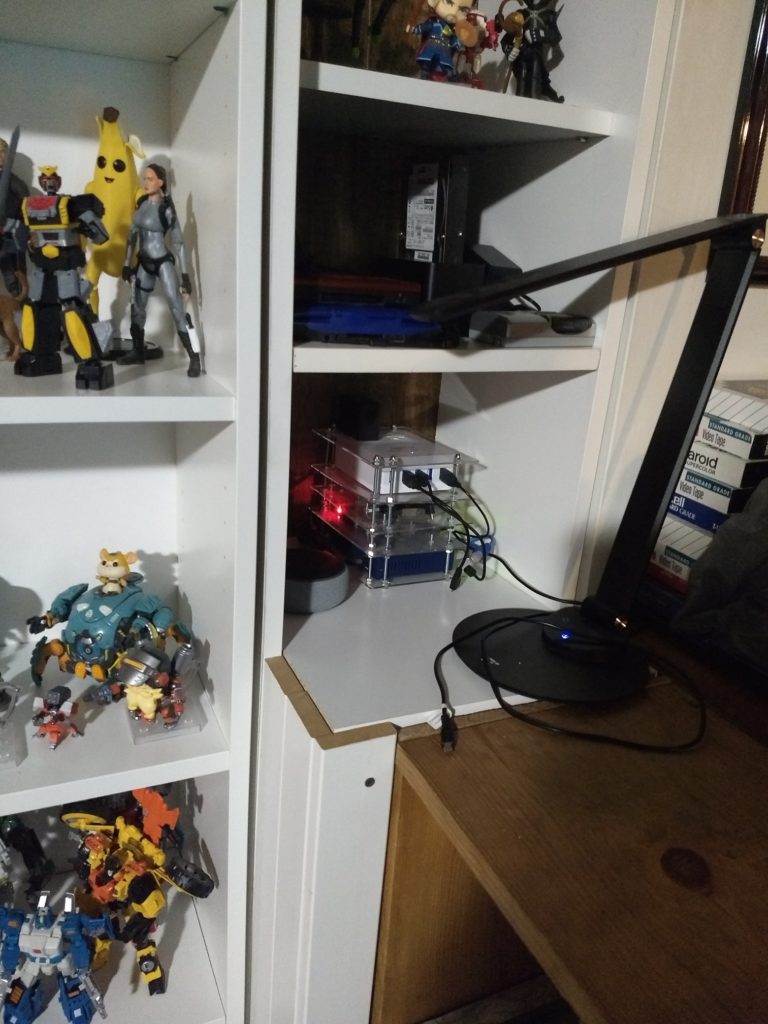
Basement – Corner Shelf
Last post I talked about putting in some flooring and shelving as part of revamping my basement space a bit. I ended up with a couple of issues after the initial work, one was sort of previously an issue, one new. The desks don’t quite fill the wall from my Photo Booth to the pillar halfway down the wall. This was, sort of an issue before. The secondary issue, I have this Raspberry Pi Rack that I previously had sitting on a shorter bookcase next to the desk. That bookcase has been relocated, and the new book cases reach the ceiling instead of, four feet or so up, so putting the rack on top is kind of out of the question.
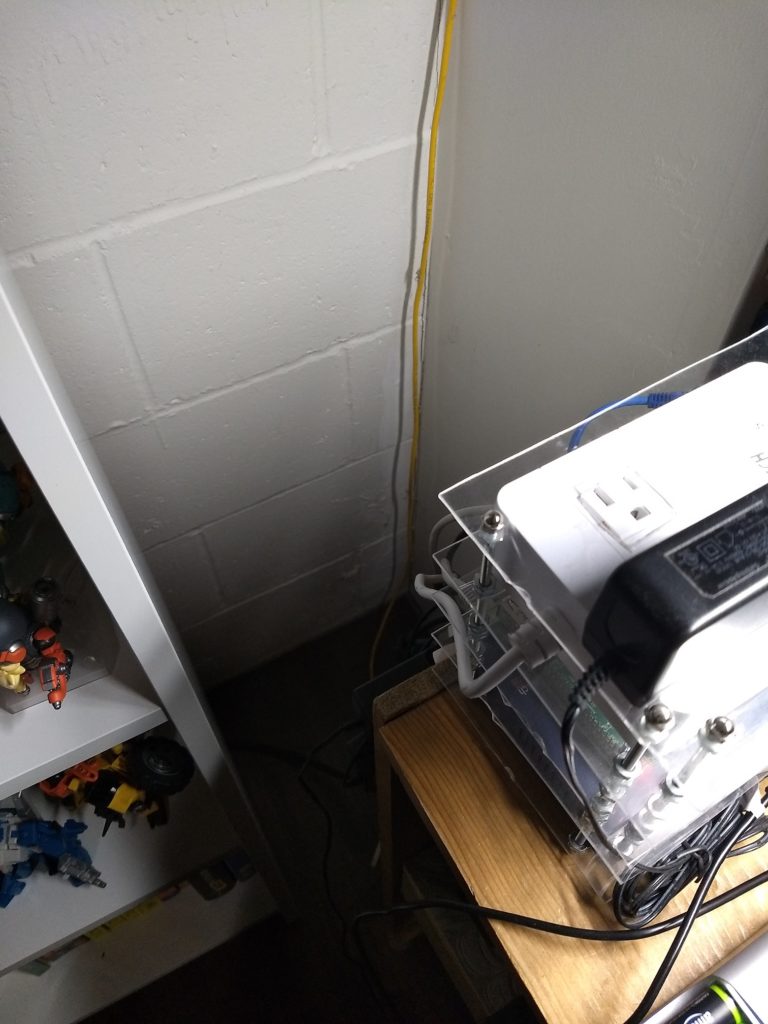
Another potential issue with this space involves the cats. While they have not done it yet, it’s kind of the perfect sort of space for them to sneak in and start peeing on the floor.
Basically, it needed to be filled.
My original plan was to make a super basic little table that was the same height as the desk to fill in the hole. When I started planning it out, I realized that there wasn’t really any reason that the shelf could not be taller, so I opted to make it the same height as the new book cases.
There are some other challenged in designing this shelf. I didn’t want it to be deeper than the book shelves, at least not up top, but the end of the desk doesn’t reach the front of the book shelves. So the new unit would need to be slightly “L” shaped. Another problem was the power strip hanging off the end of the desk. While the basement has water issues in places (that I’ve been working to resolve), it’s never flooded anywhere near the desk and flooring area. I’ve still taken the precaution of making sure there isn’t anything electronic on the floor, so the power strip is strapped to the end of the desk.
Part of the purpose of the new unit was to also hide this wiring mess. But I still need it to be accessible. When the shelf was just going to be a short table, this was easy, make the top removable. Since I was making the shelf taller, I had to redesign things a bit so the middle shelf was removable instead.
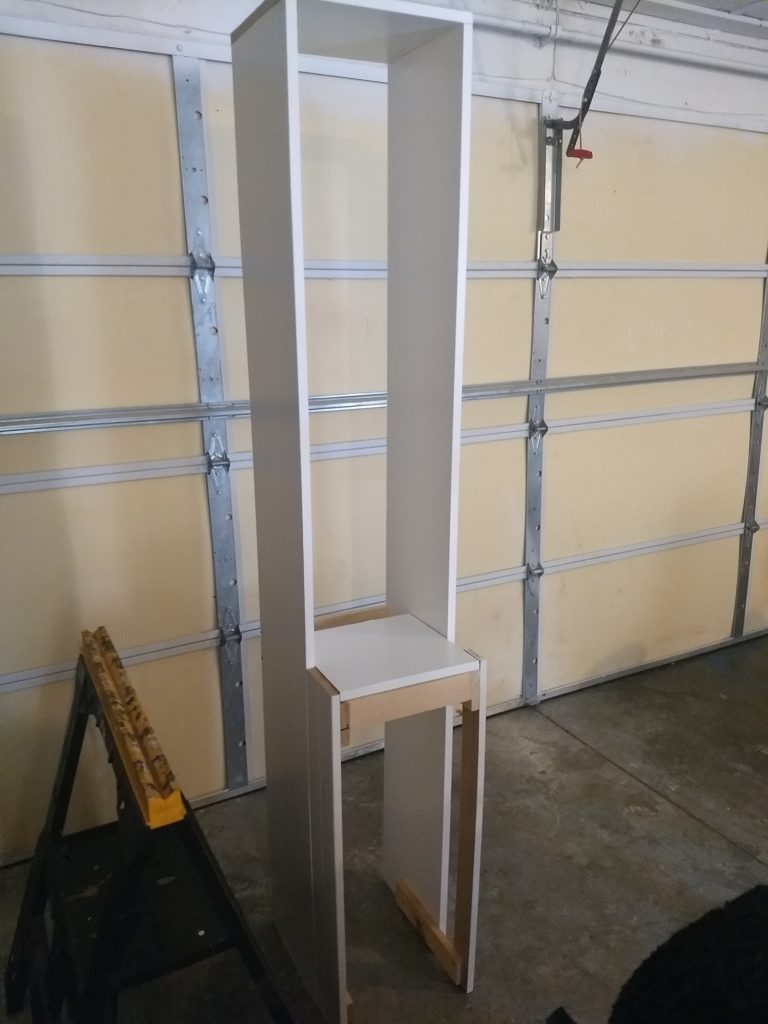
After sketching out the general idea of what I was going for, I purchased some white pre-finished boards from Menards and set about cutting and assembling the new shelf unit. I used pre-finished boards so it would match the IKEA shelving.The base of the unit is pretty straight forward. It’s a square box. For the removable shelf, I built in a square of support blocks and cut a piece to fit. Since the unit sits flush against the one wall, I opted to leave the vertical gap on the right side open. This gives a place to reach in and pick up the removable shelf, plus a path to slip cables through for anything that’s temporarily plugged in. For the more permanent connections like Network cables going to the switch in the Pi rack, I later drilled a hole in the fixed back half of the middle shelf.
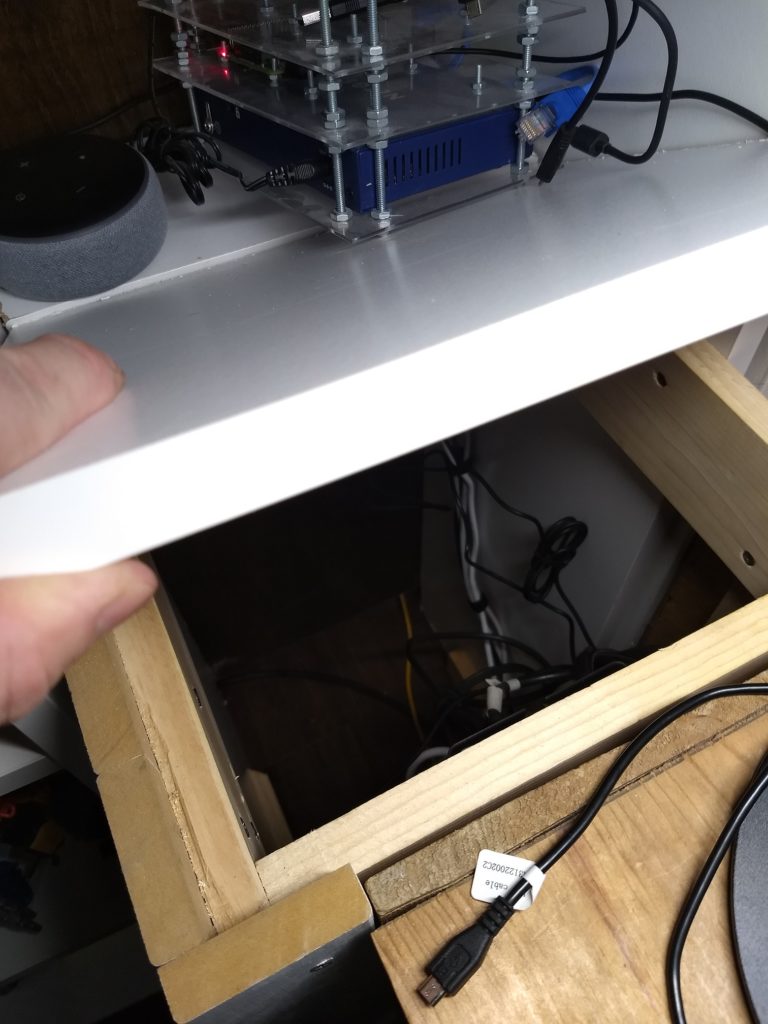
For the more permanent connections like Network cables going to the switch in the Pi rack, I later drilled a hole in the fixed back half of the middle shelf. The back half being fixed in place also means that I don’t have to completely remove the Pi Rack and Alexa anytime I want to open up and get to the Power strip.
After adding a stained piece of backing to the shelf, I went up and drilled some shallow holes to add shelving. I ended up liking these small shelves much more than I expected honestly. I can put some of my tech stuff on one for easier access and I really like the additional mini display areas for some of my more favored figures.
After putting the shelf in I found I needed to make a few last bit touch ups. Firstly the front was more exposed than expected, so I added a vertical board to fill in the space. I also need to get some white paint to touch up the tops of the front vertical pieces.
Overall though I am really happy with the result.
Josh Miller aka “Ramen Junkie”. I write about my various hobbies here. Mostly coding, photography, and music. Sometimes I just write about life in general. I also post sometimes about toy collecting and video games at Lameazoid.com.
