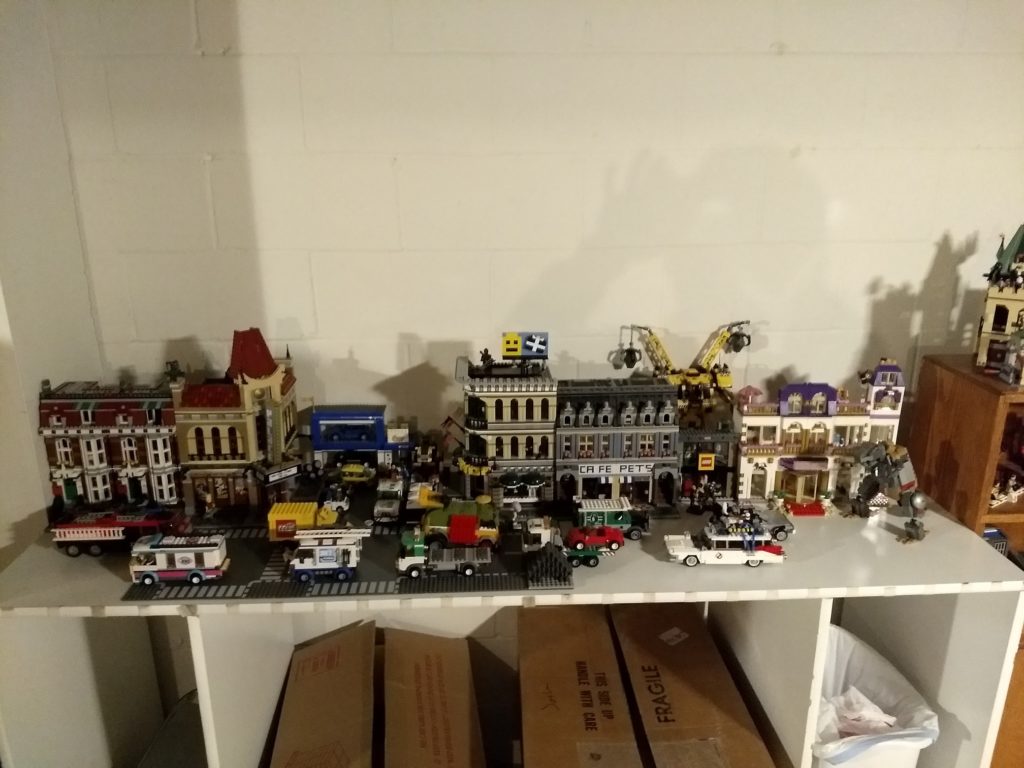
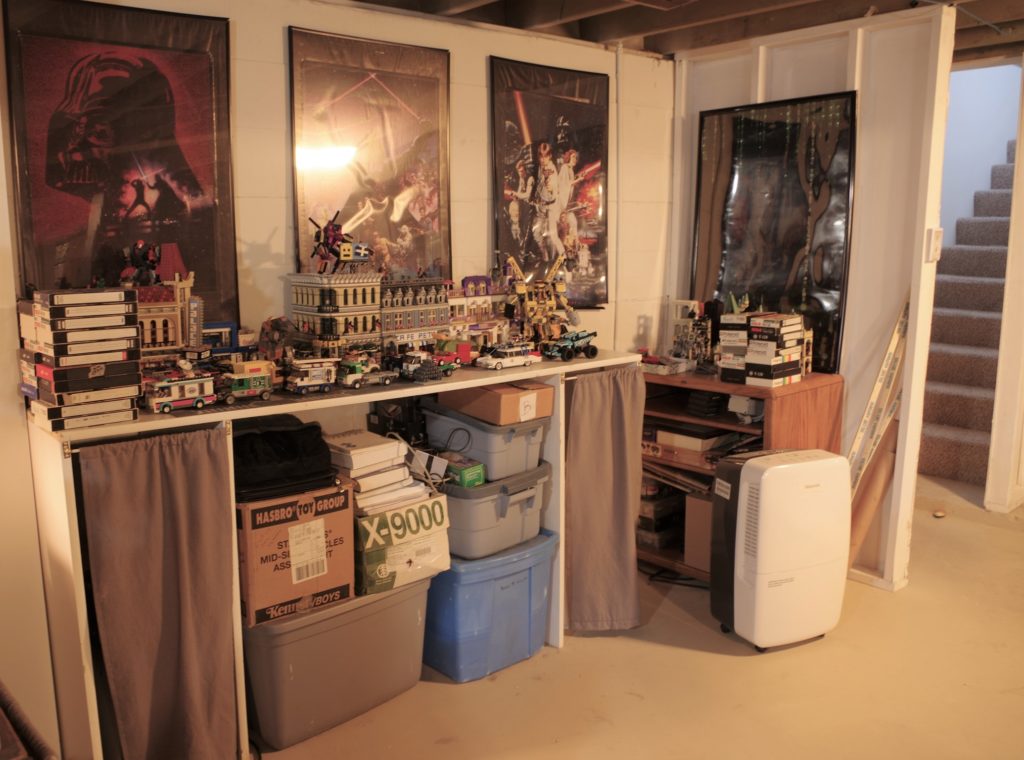
The LEGO Table space in the basement was, for the longest time, the catch all space for anything extra. It was always sort of the last space to get finished up in the basement, though it’s always going to be an ongoing project. A lot of the clean up in this space involved cleaning up other areas first. The initial set up involved a counter sort of unit that I had made years ago, that previously was in my wife’s craft room at the old house. She didn’t need it in the new house, so I inherited it and it was a place to land my LEGO Modulars.
Under was used for storage for most of my other LEGO sets, since I didn’t really have a place to put them yet. They’ve still been in boxes for a few years,
At some point we ended up with some pretty hefty book cases second hand that we were using upstairs for a while, but they were no longer needed. Originally these book cases were going to be used in the basement but they were maybe 4″ too tall, so they ended up in the upstairs space. Since they were available again, I opted to go ahead and trim them down a bit so they would fit in the basement.
This process amounted to marking a line around the top end of the book case, using a circular saw to chop all the way around on the line, then removing the top board from the chopped off scrap bit, and reattaching it to the top of the book case. I also put a fresh new coat of paint on the book cases and shelves, as well as cut a few additional shelves.
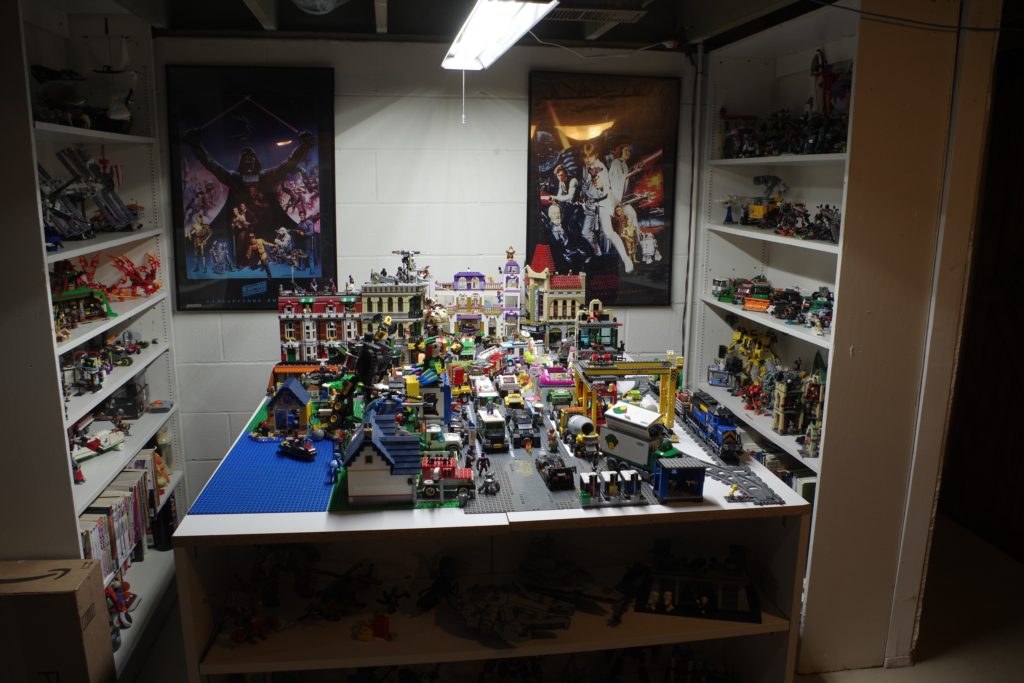
I originally wasn’t sure where these shelves would end up in the basement, but after some measuring, I decided they would work on either side of the LEGO table. This meant turning the LEGO table itself 90 degrees so it sticks out in the room. I also bought some more pre finished shelving boards, like the original table was constructed from, and build what amounted to, a second table, then strapped them together with some braces to double the available surface area.
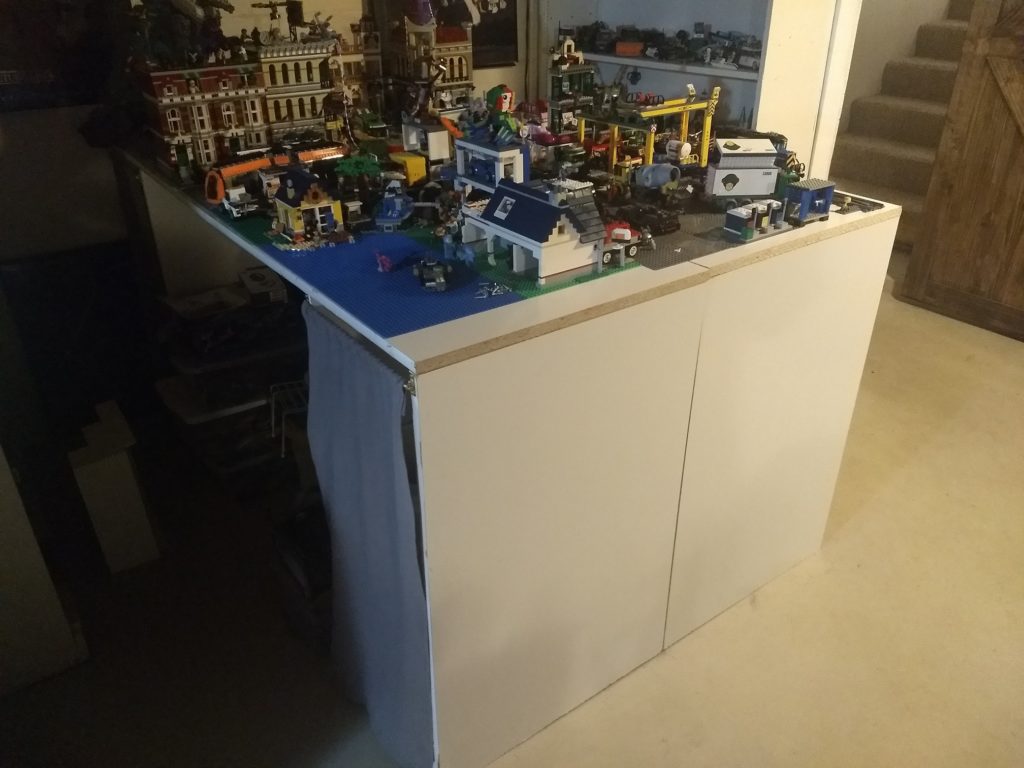
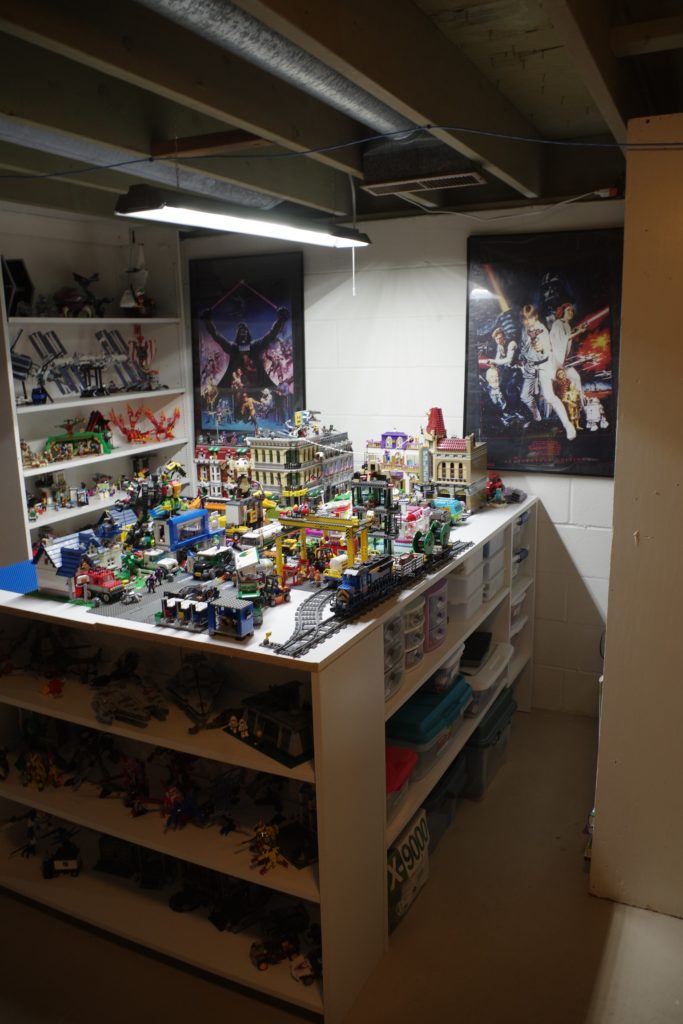
This gave me a lot more room to work with for the LEGO city, as well as shelving on either side to display and store additional sets. Which really cleaned out some of the boxes I had stored under the table. The next part of my plan was to add some additional shelving under the table for storage, which lead me to another idea. Why just add shelving on the sides, when it would be fairly easy to add shelving to the end, for a bit more display space. It also gets rid of this ugly as hell blank white surface.
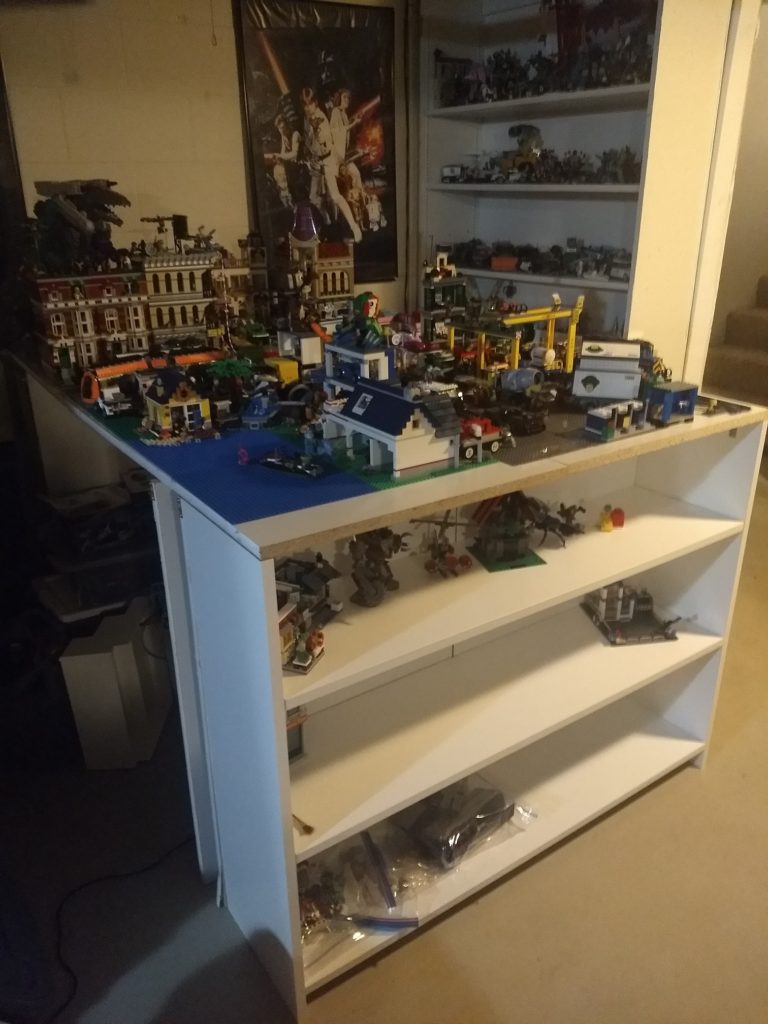
For this process, I separated the two end legs, and shuffled them back the depth of a narrower (8″ I believe) shelf. Then reattached them. I then cut and assembles a smaller shelf unit and attached it to the end of the LEGO table. On the one side, I also adjusted the secondary leg back, as well as the curtain that was there, so I could keep the trash can under the table and out of view as it was. On the opposite side, I simply removed the extra leg.
Finally, for now, I cut some more 24″ pre finished shelf boards and attached them using L braces, inside the length of the table, on both sides, so the mess inside could become a much more organized, and useful mess. I also picked up an LED shop light that I hung over the length of the table, because this particular corner of the basement is a little dark. It lights up the entire space much better than I had expected it to.
In case you noticed, the Return of the Jedi poster fell off the wall at one point. I want to buy better frames and some fresh posters anyway (these three are like 25 years old now), so I simply hadn’t replaced it on the wall yet.
The next phase of this project is to actually start sorting down the extra LEGO into bins and drawers that will go under the table. I already started this a bit with some IKEA bins but I am going to need more bins than I have and it’s slow going since right now all of the LEGO is just in a giant plastic bin.
Josh Miller aka “Ramen Junkie”. I write about my various hobbies here. Mostly coding, photography, and music. Sometimes I just write about life in general. I also post sometimes about toy collecting and video games at Lameazoid.com.
