Hard Drive Woes Part 2
This post is a follow up to my previous Dead Hard Drive post.
I used to hassle with PC hardware a LOT more than I currently do. I’ve kind of worked my way out of that gig honestly. I am at a point where I can afford shit for starters, mostly, so I’m not trying to cobble together workable machines from random parts. I also got tired of doing tech support for people, so I basically just, sort of hide that I can, because when people find out you can “fix computers”, now you’re vacuuming out 50 years of dust from a Pentium 1 in your backyard for a neighbor who refuses to just buy literally any cheapest machine at Wal-Mart for an infinite performance boost.

“Back in my day!” (fist shaking), you could pretty much just slap any drive with an Operating system in any machine and it would boot. Sometimes it would boot into an ugly driverless environment because it was ripped from another machine, but that was fixable. Things seem more complicated these days. I’m not blaming UEFI, and all that more secure BIOS stuff, but it’s a likely culprit. I think that better security is good, it just, is also part of why I can’t more conveniently fix my damn PC.
I say Conveniently, because that’s the core issue. I can still EASILY do it. It’s just… not convenient.
Shortly after messing with Linux a bit for troubleshooting, I did a bit of set up to use it as the main driver but, decided to just go back to Windows. I downloaded a fresh recovery image, sliced the Linux partition down to 500GB and reinstalled Windows.
I like Linux. I use Linux, almost daily, if not daily. It’s great for automation tasks and running server software and all that. It, kind of really sucks as a desktop OS. Don’t get me wrong, it’s usable, especially for simpler needs (literally anything not Gaming or Video/Photo Editing). I have run Linux as the sole OS on many machines, mostly laptops, and lots of Pis and Servers. I’ve used Linux off and on for over 20 years now. The problem here is, the main use case for my “Kick ass gaming rig” is well, gaming. Half the games I had slated “to play” from Steam are not available in Linux. I set up Hero Launcher for GOG and Epic, but like, my cloud saves didn’t work, and Fortnite doesn’t work and the whole thing felt a little off. Graphics also felt a little off, even though I did switch to using the official proprietary NVidia drivers.
Anyway, I went back to Windows. I spent an eternity downloading drivers and doftware and getting things set up properly. Unfortunately, the secondary drive I was now using as my primary, is just too slow to handle the needs of a lot of games as well. I had to roll Fortnite back to DirectX 11 for example, because it would take like 10 minutes to drop into a match because it would load shaders or some shit. For anyone not aware of how Fortnite works, it’s online, in an arena of players. If you drop in 10 minutes late, your character will have already landed in the map and probably be dead or dying.
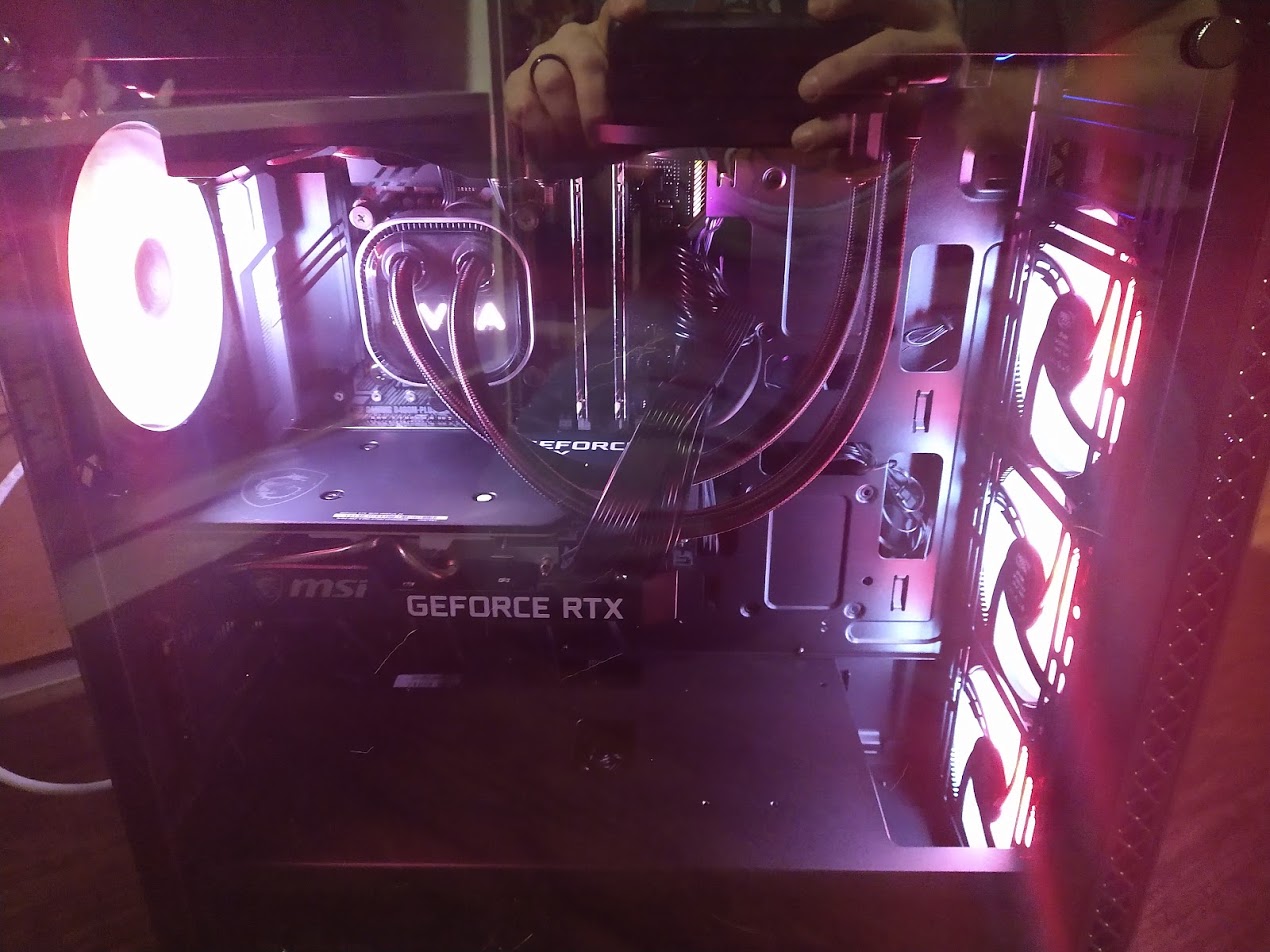
So I bit the bullet and bought a new NVME drive. I planned to eventually, I just, did it sooner.
I went and downloaded Clonezilla to just mirror the Hard Drive to the NVME drive, which worked, but things would not boot.
There are plenty of possible solutions online, with recovery mode. I tried a few of them. But in the end, I have opted to just, reinstall Windows, again.
Which means redownloading drivers and shit… again….
I might be able to pull the Steam Downloads over before wiping the secondary drive, but I am not sure Epic will let me do that. Unfortunately, the larger games are from Epic, with Fortnite, Death Stranding and Final Fantasy 7R in that list.
It’s all, very easy.
It’s just all, very inconvenient.
Also, just because, and maybe for future reference, the install needs:
- Network Driver – For some reason it doesn’t work on the generic.
- TUF Gaming Amoury Crate – The motherboard seems to load this, and it find and installs all the drivers, which is nice, despite the cheesy name.
- Windows Update
- Color Scheme to Dark, no transparency
- Firefox – Browser of choice, then log into sync and let it pull all my stuff in.
- Steam
- Epic
- Visual Studio Code
- Change One Drive settings to not sync everything but only some things.
- Log into the Microsoft Account so One Drive and Office work, since no network driver means local account log in only at first
- Share X – For Screenshots to folders
- Display Fusion – For rotating desktop wallpaper
- Synergy KVM – So I can connect to my other PC\
- EVGA Flow Control – For the cooler
- Remove all the cruft from the start menu, remove the apps list and recent files
- Add a dozen network drives to File Exporer
- Discord
- Firestorm Viewer
Josh Miller aka “Ramen Junkie”. I write about my various hobbies here. Mostly coding, photography, and music. Sometimes I just write about life in general. I also post sometimes about toy collecting and video games at Lameazoid.com.