OSEPP Arduino Starter Kit
 So, a month or so ago, while traveling for work, I was bored in the hotel room and found out there was a Fry’s Electronics around the corner from the hotel. I decided to pop in and look around and see if I could find anything interesting. I also wanted to see how much Raspberry Pi 2B boards were there (and if they were comparable to Amazon.) They had a couple of Pis, a large selection of basic electronic components and a pretty decent selection of Arduino shields and parts.
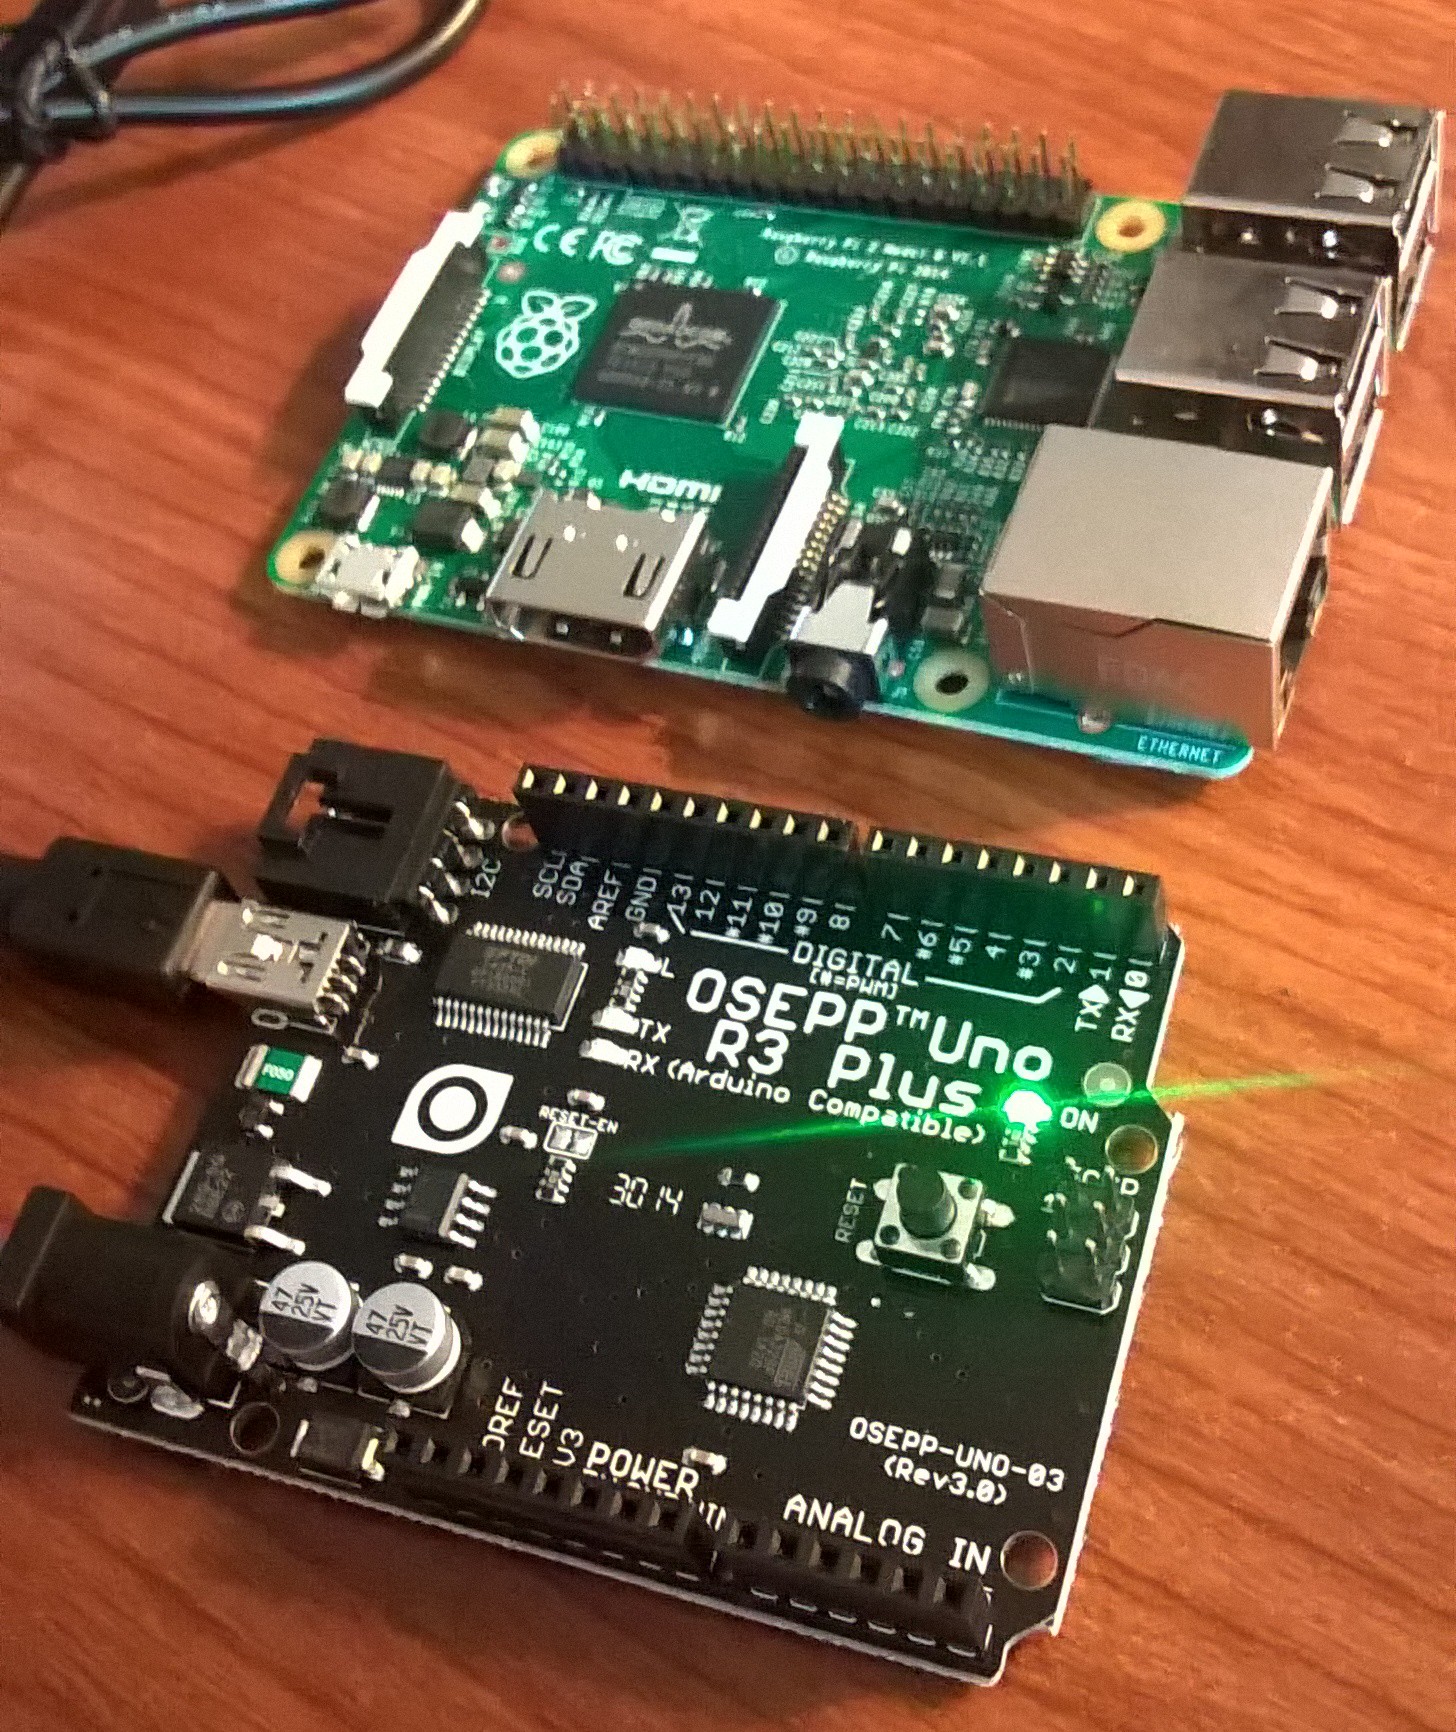
I’d been looking into getting an Arduino for a while and decided what the hell. There may have been single packed Arduino boards but I really couldn’t tell from the cards which was the base board an which was just an add on shield. I ended up with the OSEPP Arduino Basic Starter Kit. Honestly, since I hadn’t ever used an Arduino, I didn’t own an Arduino, and I had some basic but not super amazing electronics skills, this really was the best choice.
The kid includes a lot of nice basic parts as well as a guide book to get you started using these basic parts. The box itself promotes the major projects of “Volt Meter”, “LED Game” and “Electronic Buzzer”. It also runs through the basics of lighting up some LEDs. The tutorials are decent though I wish there was a little more on the basics of how to work the bread board and the little wires. It’s not hard to figure out, but it also isn’t super self explanatory if you didn’t have any experience with electronics at all. the Volt meter tutorial is less exciting than hoped and the Buzzer just runs up the music scales but it could be modified to play a tune using the little piezo buzzer.
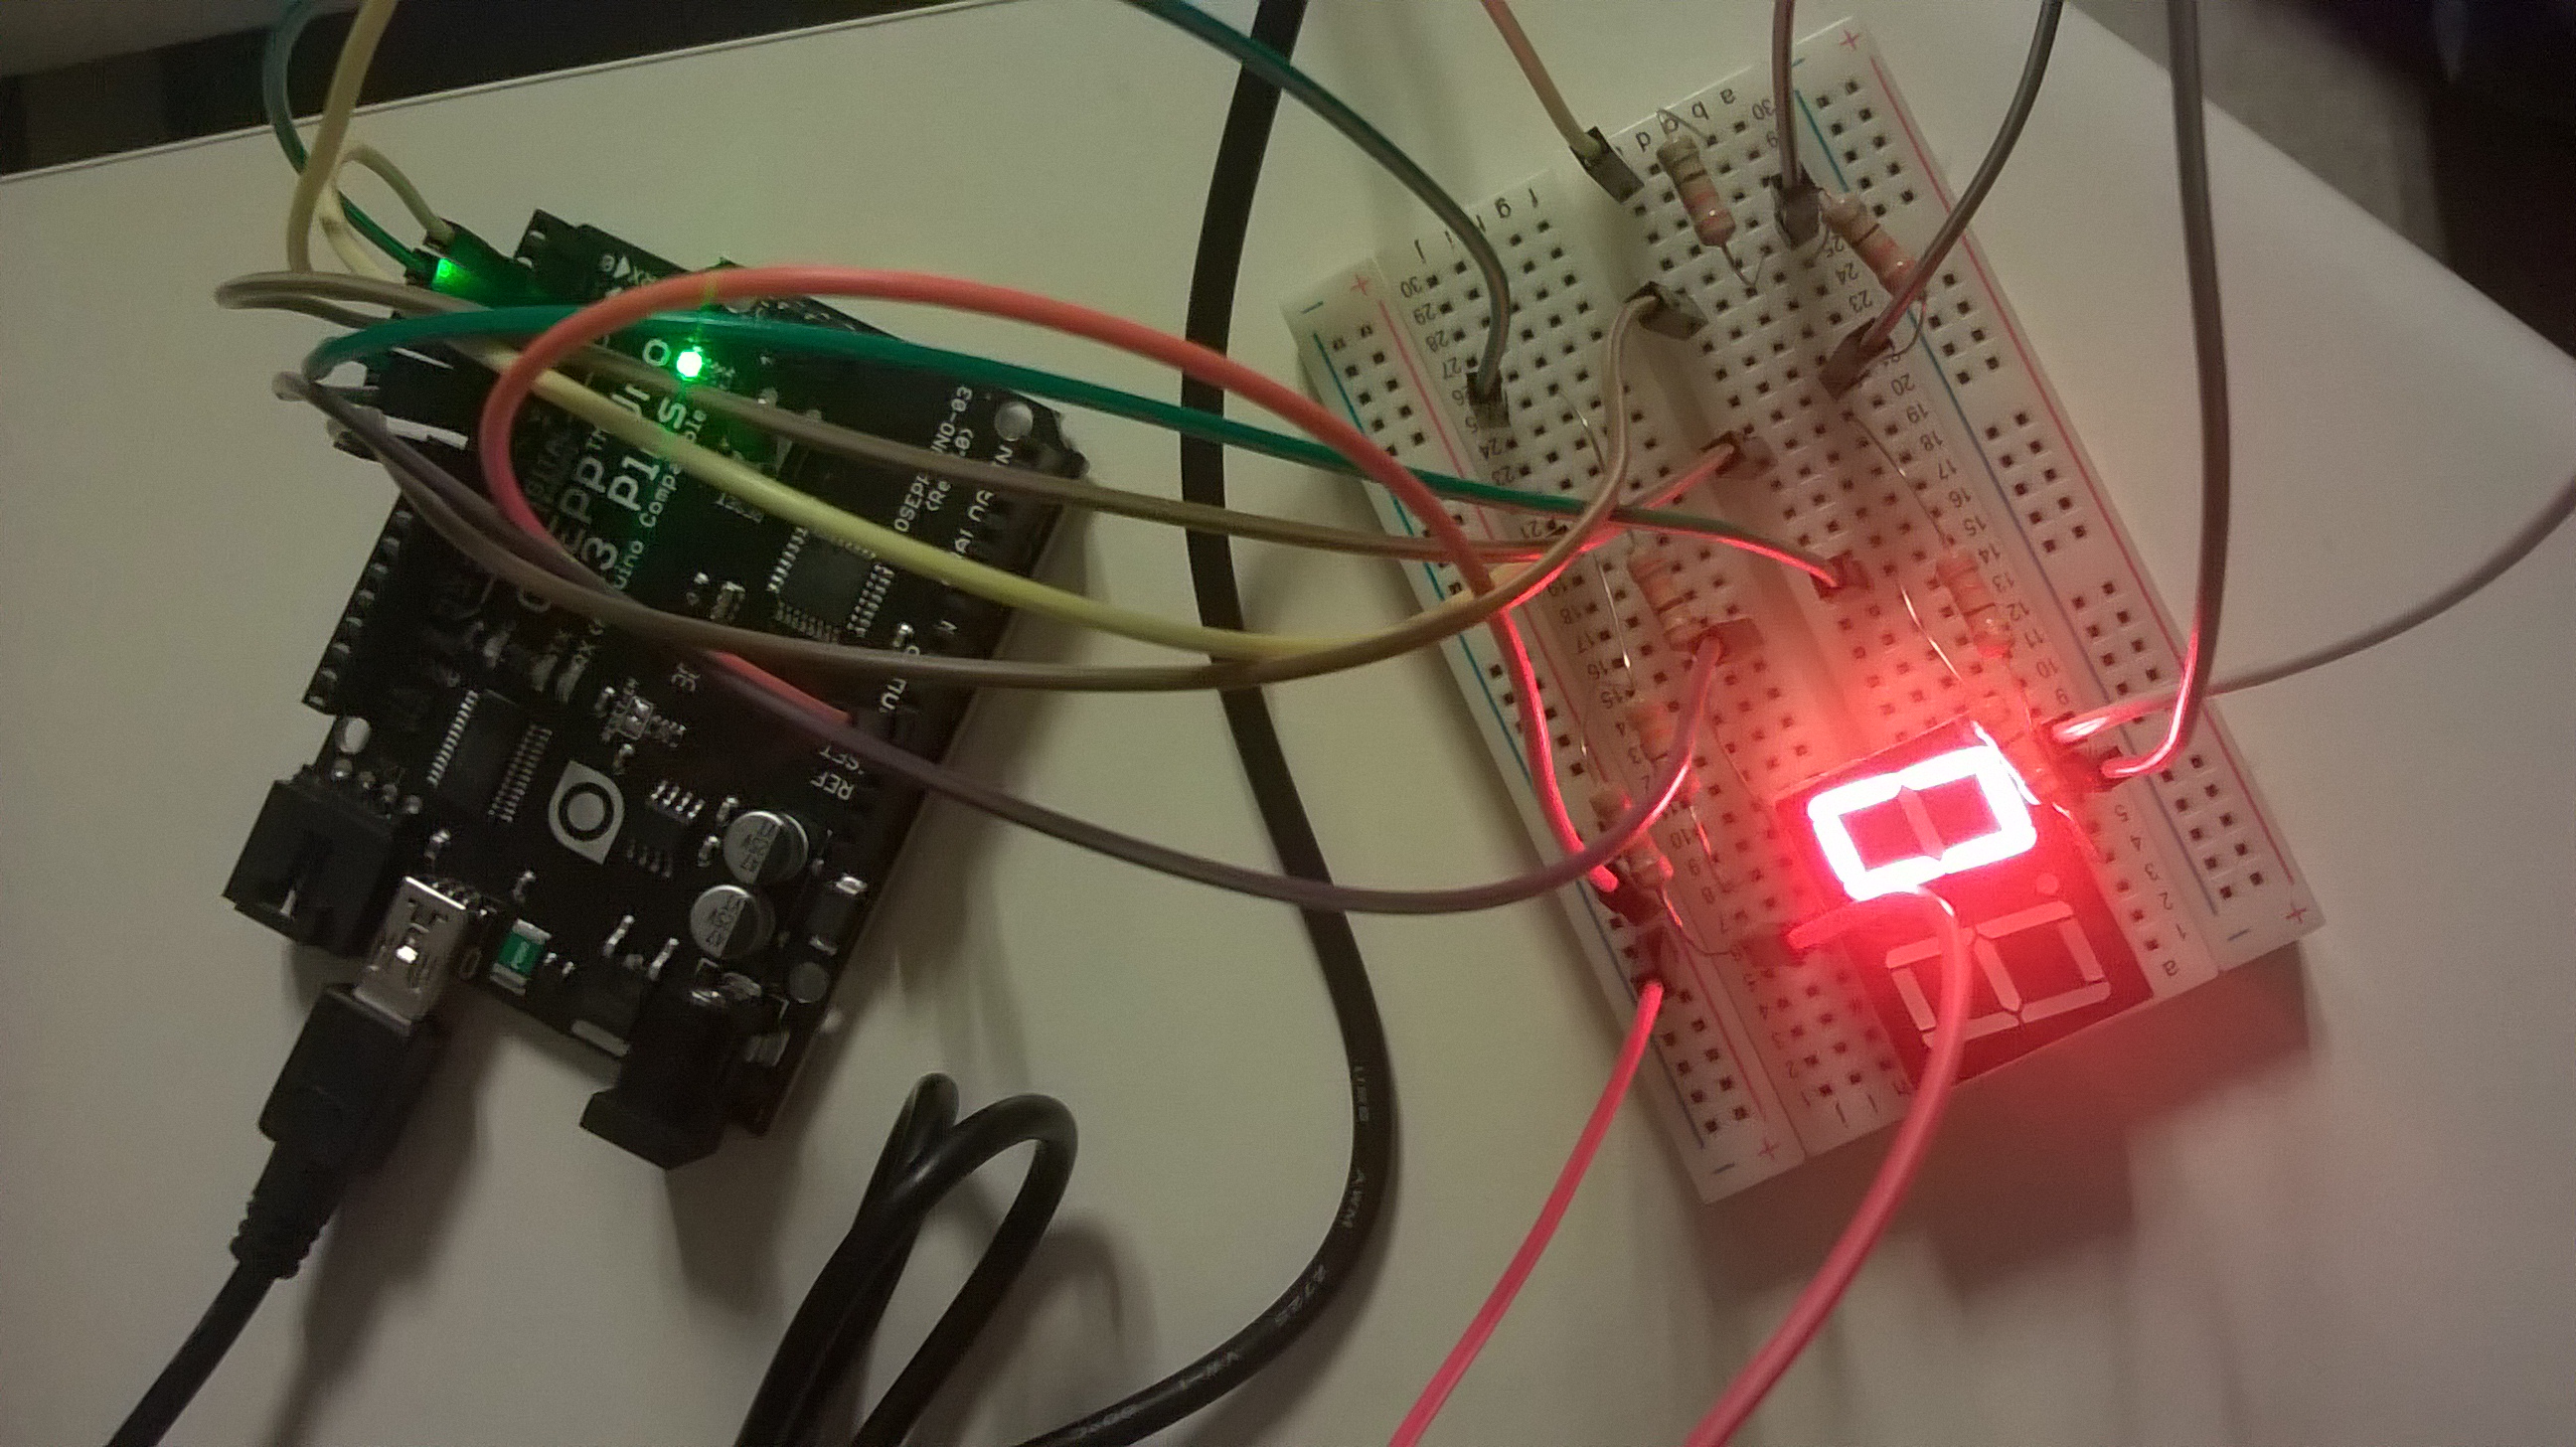 The LED game is neat, but simple. You make the lights flash in sequence and you must press the button when the appropriate light is flashing, which causes the lights to flash faster. There is also a 7 segment LED in the kid, which you make count down from 9 to 0. This actually has a lot of fun potential and I have some ideas for it but I need to figure out how to light up both numbers to display a number (such as say, a temperature).
After exhausting the fun of the starter manual, on my next trip to the area, I bought a temperature and humidity sensor and wired it up. This was a bit trickier since it required figuring out how to find and download the necessary libraries and modifying the code a bit to get it to read properly. In the end, I managed to get things working though, which was kind of great since the AC in my hotel room didn’t have a digital read out, so I could know exactly how cold it was and why I was either freezing or sweating.
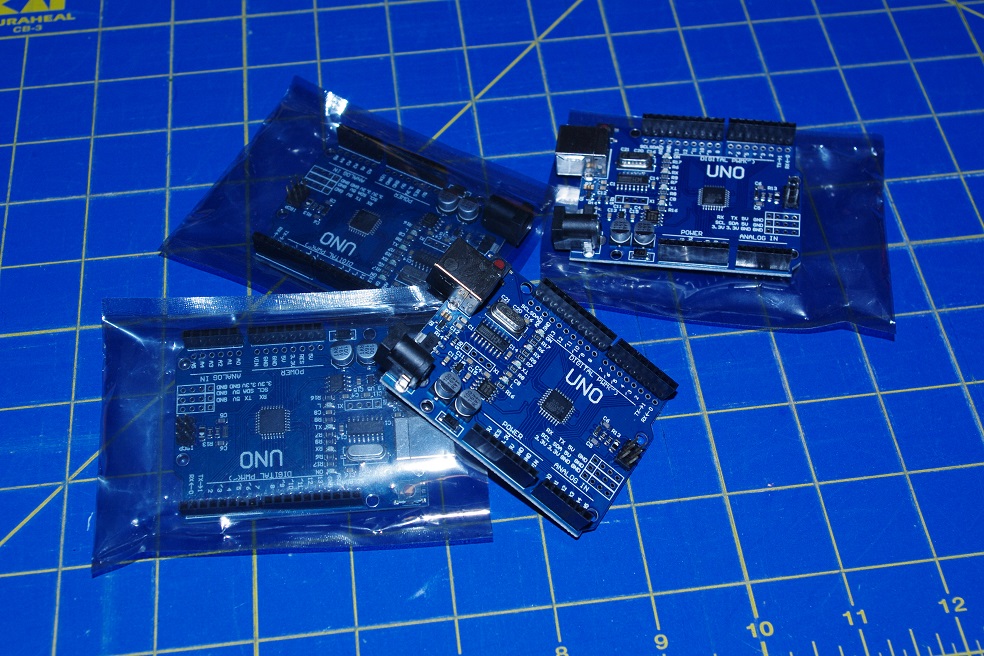
So, fast forward a bit more again, I’ve got some fun ambitions going and the idea of playing with several Arduino projects. Unfortunately, while cheap, Arduino boards can add up to expensive. Unless you buy cheap Chinese knockoffs for $3 apiece off of AliExpress. I also have some cheap Network boards and temperature sensors coming. Five boards total, five sensors and two network shields, for around $35, really isn’t too bad of a deal if it all works.
And thus, I have a ton of Arduino boards to play with now.
Josh Miller aka “Ramen Junkie”. I write about my various hobbies here. Mostly coding, photography, and music. Sometimes I just write about life in general. I also post sometimes about toy collecting and video games at Lameazoid.com.