Something I have been vaguely looking into over the years is a DIY solution to home security and automation. There are several places you can pay to have this sot of thing installed and they often include a subscription for monitoring and leasing the equipment.
We’ve been having some issues lately with kids in the neighborhood knocking on doors and windows and running off late at night. I had set up a temporary measure using my Sony Handicam on a tripod and even caught one of them once but the video was not clear enough due tot he darkness to really see anything. Plus, filling the memory card on a daily nightly basis is not likely very good for the camera, nor is leaving the thing plugged in constantly good for the battery.
I could also use my Panasonic DV100 to capture the low light video pretty easily but it takes tapes and would only record an hour max. Plus I don’t have an AC adaptor for it, so even if I hooked it up to a VCR or something, I’m still only looking at 2 hours max. Not to mention wear and tear on the camera.
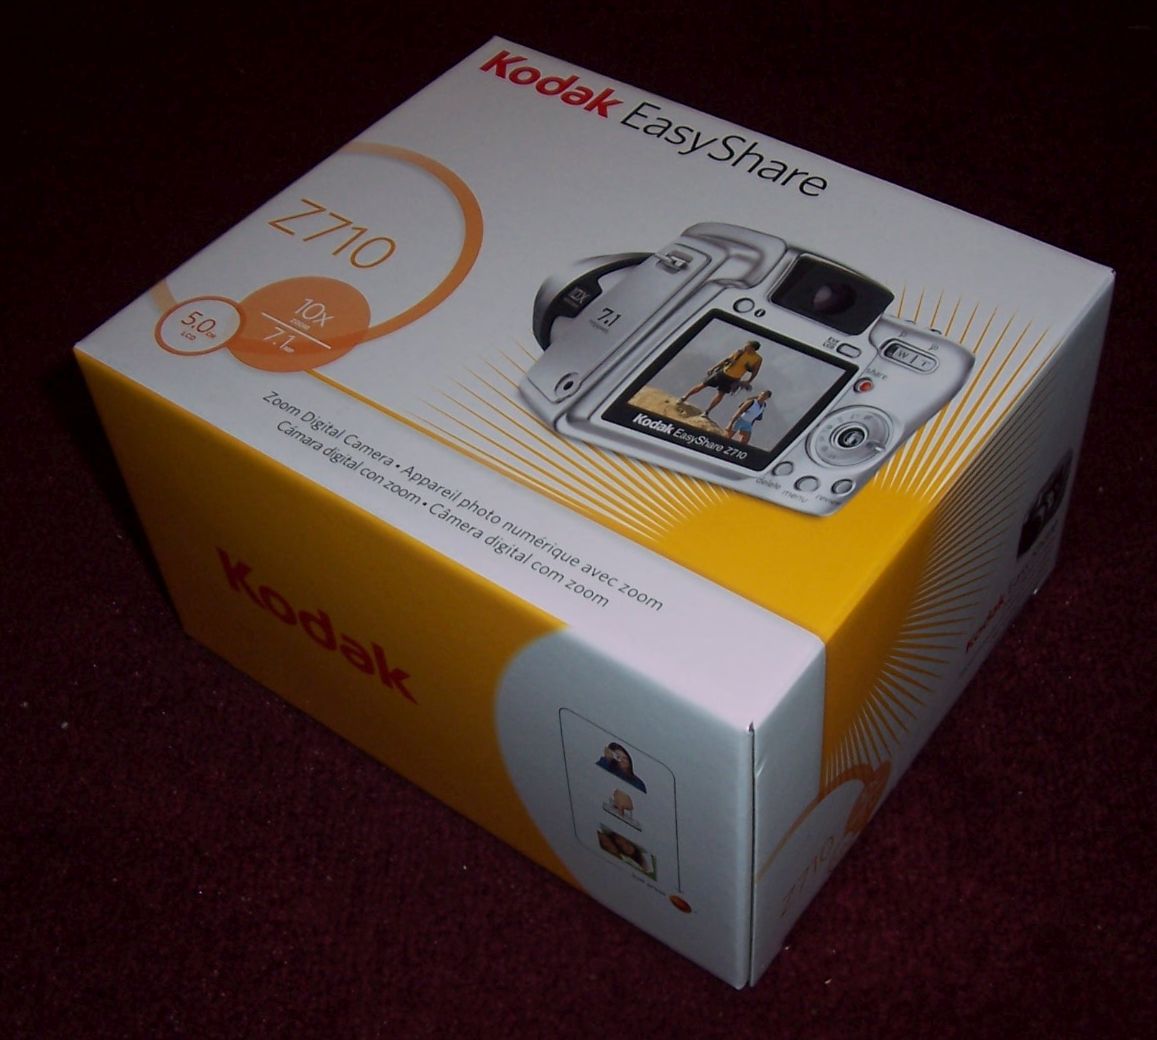
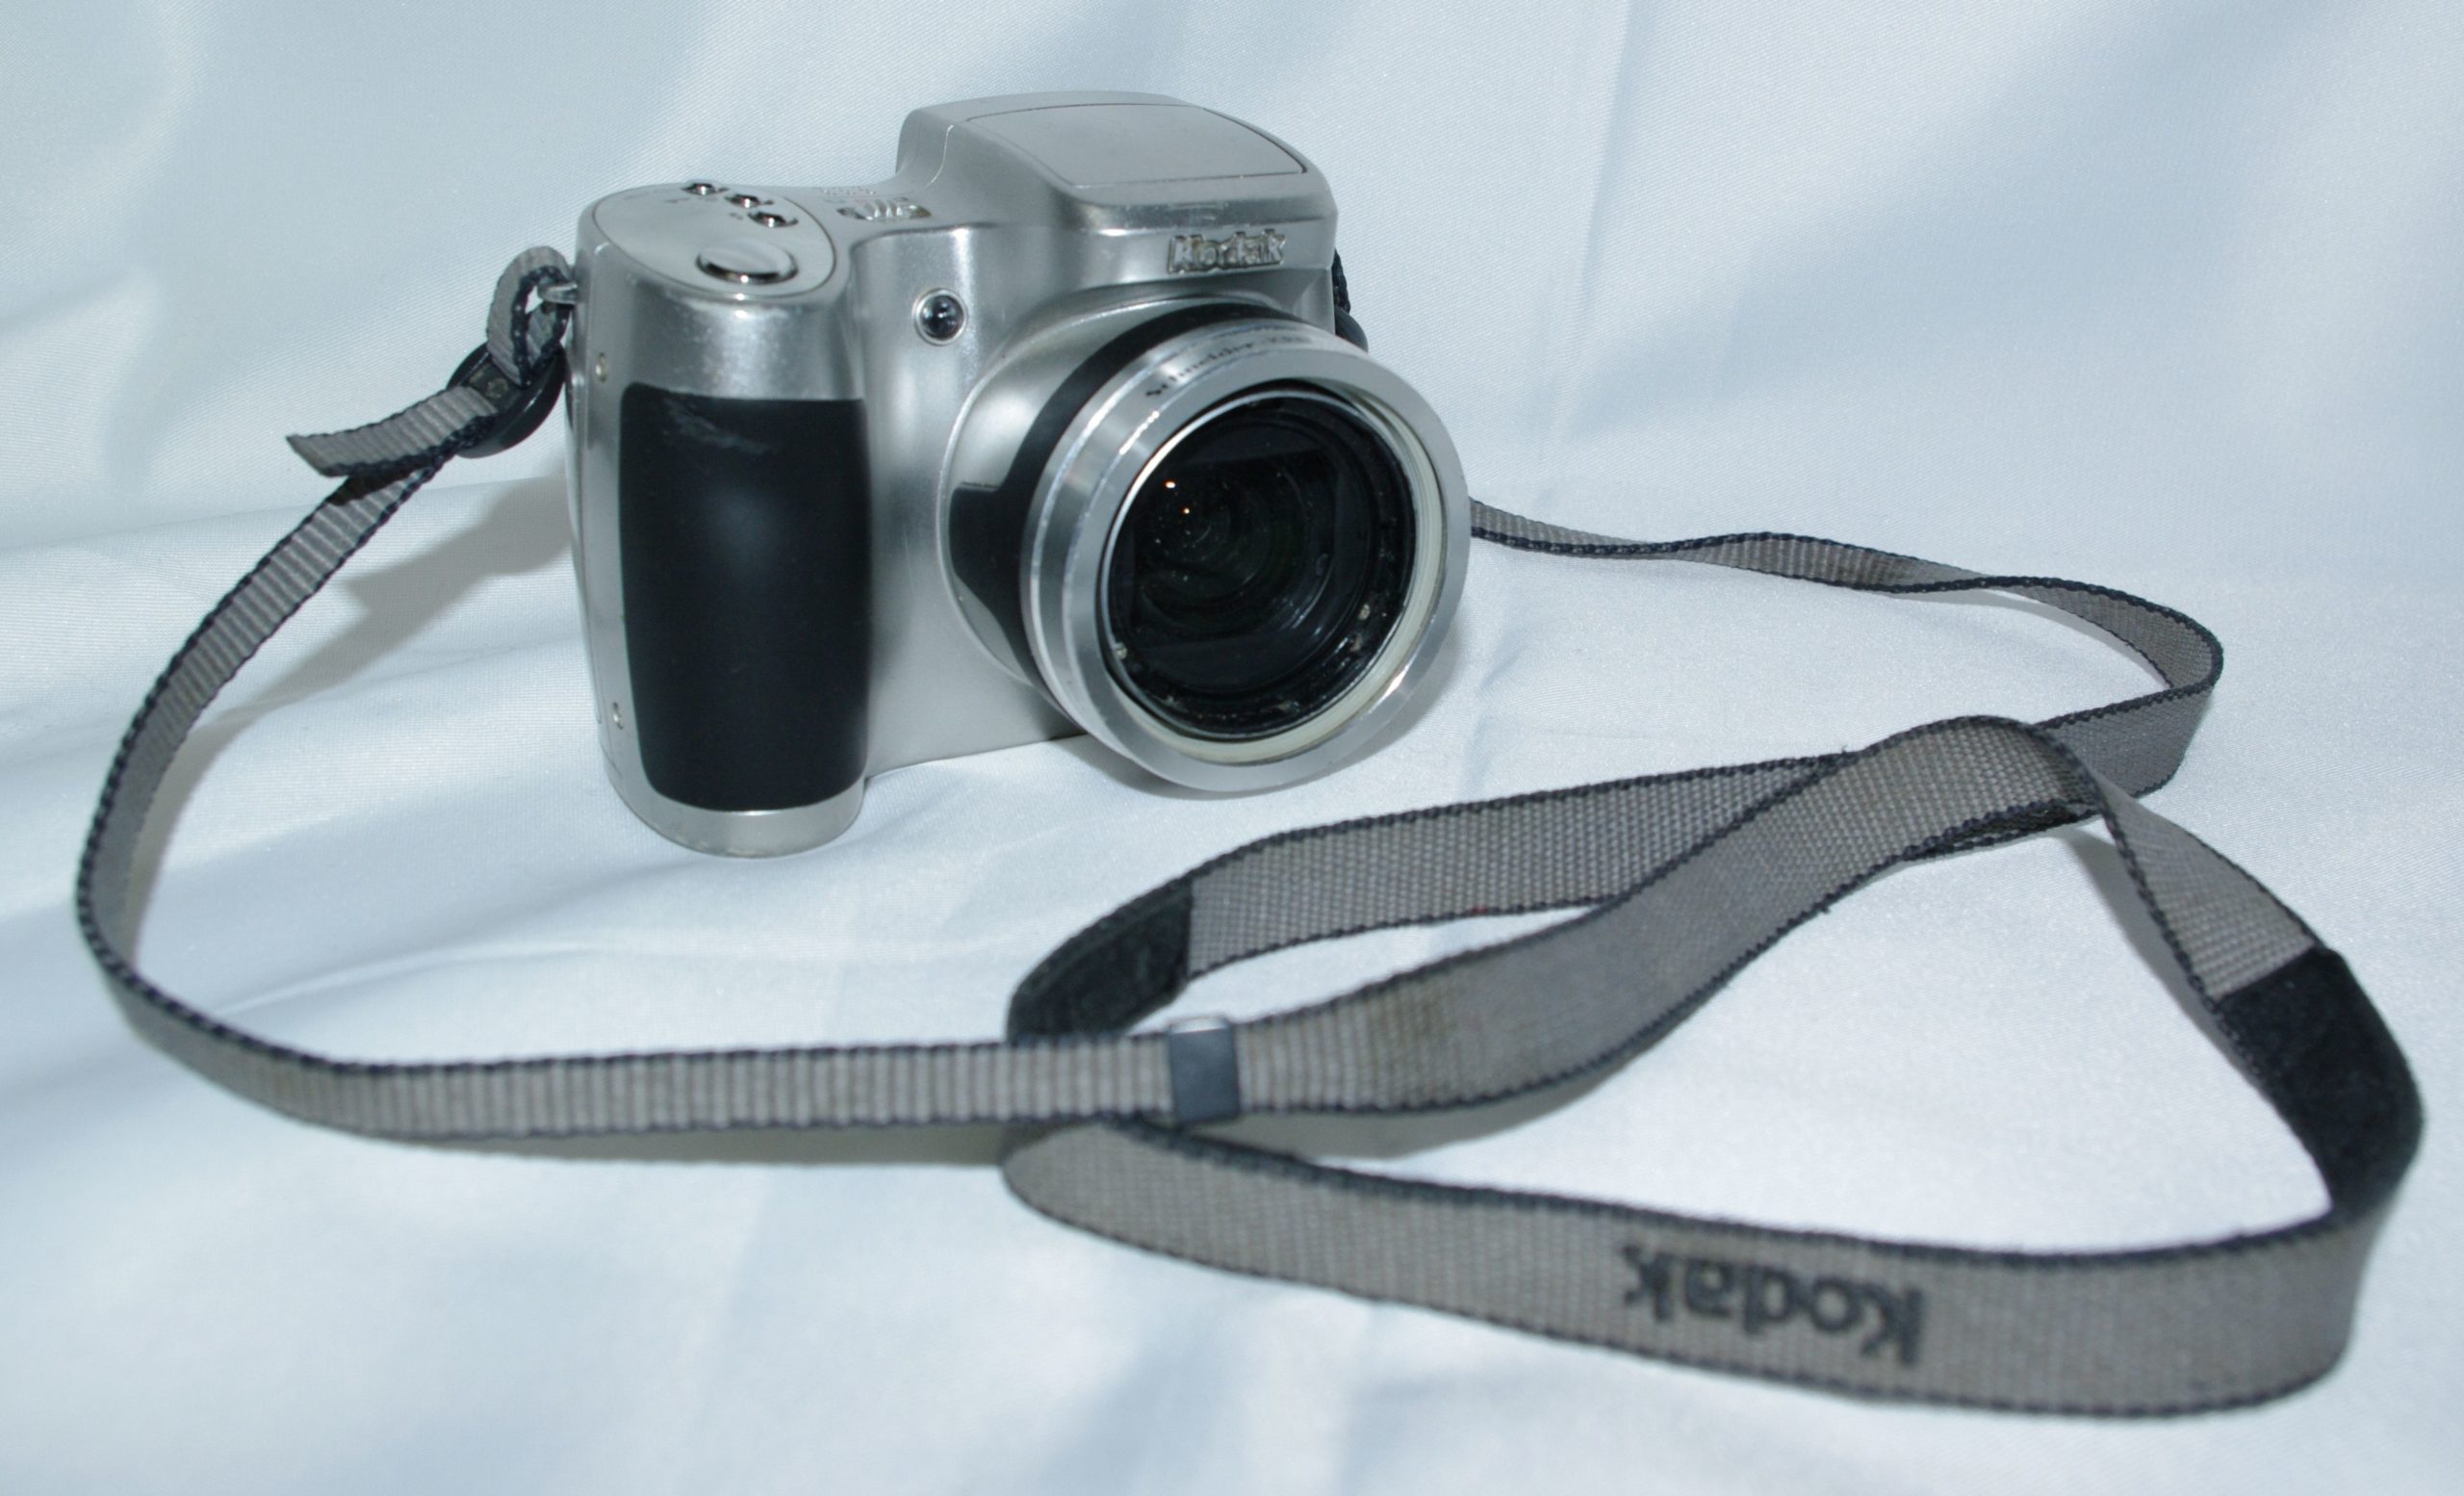
What I really needed was a dedicated camera designed for this sort of thing, one with night vision. I’d tried using webcams hooked to PCs in the past but that doesn’t work in the dark either and the webcams I own are all ancient. Plus I am tethered to a PC by a USB cable. Amazon had a daily deal on some D-Link DCS-932L wireless cameras (which wasn’t as amazing as it seemed on paper due to Amazon’s pricing screweyness but whatever). They were wireless, they were day/night capable and for the price I could get 2-3 of them compared to one of the other cameras I had been looking at.

The cameras themselves are decent. They were cheap, which I liked, and thought they are not super cheap in quality, they are SD only, which I was aware of but its a bit more of a letdown than I expected. They were easy to set up, I plugged each into the router using the network cable, scanned for the IP address, and opened the GUI. From there was was simple enough to assign IPs to each camera and connect them to the WiFi. There is a myDlink service included for “anywhere access” but the cameras can be used independently from myDlink. I found some software which lets me view multiple cameras at once and may set it up on a TV using an old broken Netbook I have laying around for quick access.
After ordering and receiving the cameras, I had a realization that I had neglected to consider. These cameras are NOT outdoor cameras. Specifically, they are not deigned to be outdoor cameras. In my research, I knew simply placing the cameras in a window sill this would be a problem due to light reflection from the windows. Just because I can’t see the infrared light at night doesn’t mean it wouldn’t create a massive glare on the window.
It’s still light.
I didn’t even get far enough for that to be an issue, the cameras during the day were horribly obscured by the window screens and the street lights outside, while not bright, created a massive amount of reflection from the blinds.
Oh well, at the very least, I could use them indoors, though the point was to watch the doors and driveway at night.
Still, I didn’t give up. I did some research online and found many people had used these outside, for at least months and in one case years. The main concern was condensation and humidity, and to a lesser extent, temperature. One video even put the camera out on a table in the pouring rain for an hour with no ill effects.
So I set out to build a weather resistant enclosure for the cameras. I’ve used plastic electrical boxes in the past for other projects and this one was pretty much just drilling a few holes in some plastic. The boxes I found at Lowes came in 4×4 and 6×6 sizes. I had my wife measure the camera and she said it was not quite 4 inches tall minus the base, so I opted for the 6×6 box. The boxes themselves are pretty thick and I wasn’t sure the inner cavity was actually 4″x4″ on the smaller boxes. Plus going with 6×6 gives the cameras room to breathe a bit, since it is still an electronic device and will generate some heat. My main irritation wads that the 6×6 boxes were almost twice the cost of the 4×4 option.
I started by measuring out the center along one axis of the box lid, then measuring out the placement of the camera’s circular lens ring on the other axis. I then found the center point of the circular areas and marked the counterpoint of the hold I was going to drill. I measure the camera camera ring at 2″ in diameter and used a 2″ drill bit put apparently came up off somewhere because the hole was about an eigth of an inch larger all around. Slightly annoying because I wanted a tight fit but it was workable and I can always seal it later with some caulking or even just some foam weather sealing that I have laying around.
Next I drilled holes in the bottom of the box to match the screw hole mounts on the bottom of the DSC-932L camera mount. This size was dependant on the bolts I had handy that would fix in the screw holes. This would allow the camera to be bolted into place inside the box. Finally, I needed to get the power cord through. The largest normal drill bit I had was not quite large enough to make a hole for the power cord to fit through but I was able to ream out the hold enough to get the plug through. The benefit of this tight push was that the hole would be smaller and easier to seal up.

So after mounting the camera with bolts and pushing the power through and assembling the cover around the lens, I hade a self contained weather sealed box (the electrical box has a nice rubber seal between the lid and box). I am not real sure yet on the best way to mount the box but I placed it outside last night on a plant stand and let it run through a rain storm. Worked out fine and the video from outside the window worked fine.
This project definitely isn’t done but it’s off to a good start. Next will be finding an effective way to mount the boxes under the soffits, and, more important, providing power. The cameras are wireless to the network but they still plug in. I had some ideas about running extension cords through the soffits to the garage but I’m thinking it will be better to just install some outlets in the attic at the appropriate points. I have a motion activated light I took off of our rental property after the fire that I plan to install on the front door, so the front door cam may just get a hook up right there on the light, since the motion light will need to be on all the time anyway.
The project is working out pretty well though despite a few hiccups.
Josh Miller aka “Ramen Junkie”. I write about my various hobbies here. Mostly coding, photography, and music. Sometimes I just write about life in general. I also post sometimes about toy collecting and video games at Lameazoid.com.